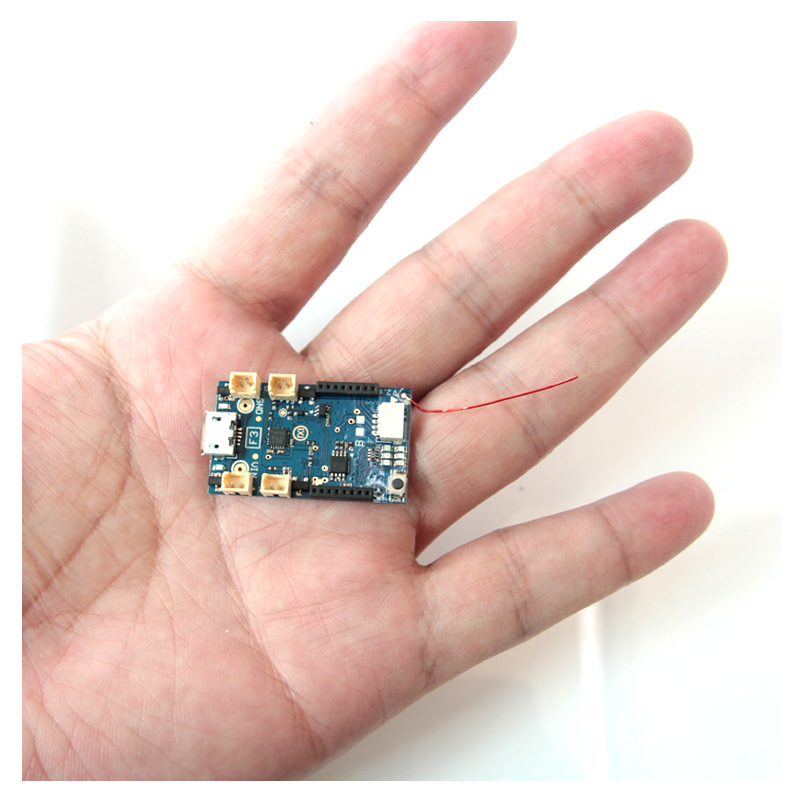
Oversky F3 EVO Micro Brushed Flight Control Board Built-in FlySky Frsky DSM RX for RC FPV Racing Drone
â
âSpecifications:
Brand Name: Oversky
Item Name: Flight Control Board
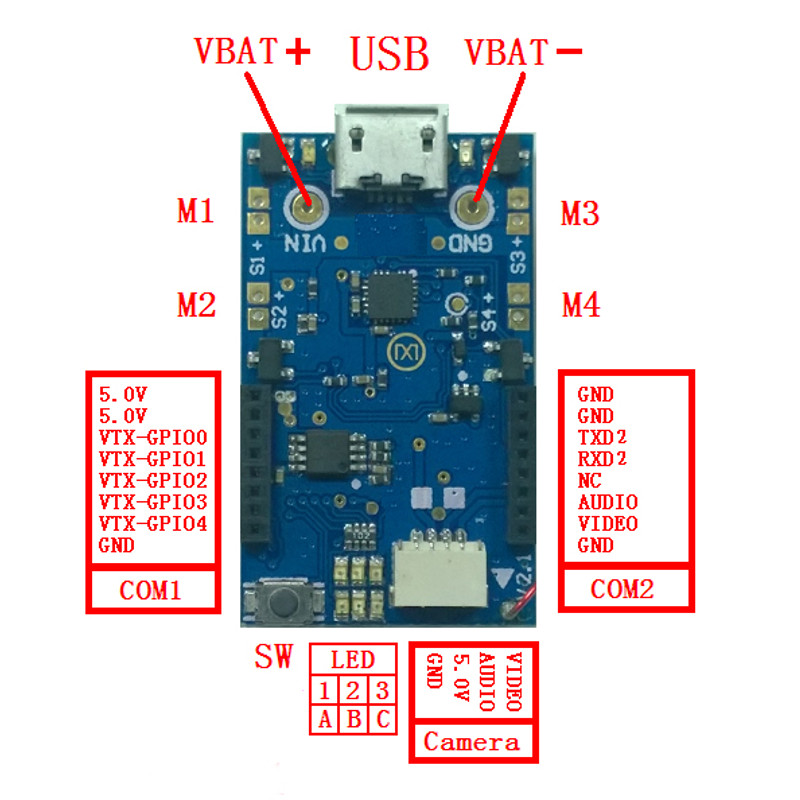
Size: 20.0*33.5*6.0mm (Not Including the USB protruding part)
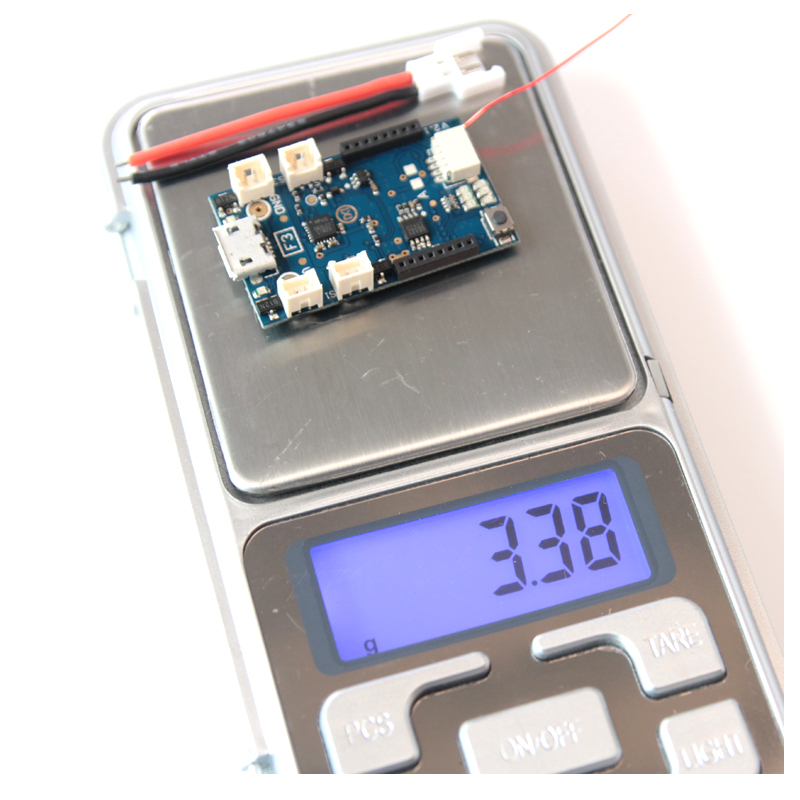
Weight: 2.5g
Brushed ESC: continuous working current is 4.2A, max current is 6A(5S);
â
âFeatures:
- STM32F303CCT6 main controller;
- MPU6500 sensor (SPI way)
- 6 optional built-in receivers;
- Onboard 5V/1000mA DCDC booster circuit;
- 4 built-in brushed ESCs (each brushed ESC can support current up to 6A);
- No need soldering for installing VTX-25MW module or VTX-25MW & OSD module (note: analog VTX is 40CH)
- Every built-in receiver on the board outputs receiver signal in the same 8CH PPM format and order, the channel number depends on customer's transmitter;
- Customer can set up the working frequency of VTX according to his own request through transmitter;
â
âBinding Operation:
Two ways for binding operation: the first way is to long press the button for 2 seconds and enters binding mode; the second way is timeout binding mode.
The built-in receiver for entering binding mode in the first way: 3=> Futta-ba SFHSS compatible receiver;
The built-in receiver for entering binding mode in the second way: 1=>DSMX/2; 2 =>DEVO (on testing); 4=> FrSky (on testing); 5=> FlySky AFHDS; 6=>Hubsan;
Note: LED light A flashes quickly indicates entering binding mode, solid LED light A indicates signal is received and stable.
â
âPackage Included:
â1 x Flight Control Board

ââDescription:
- Oversky F3 brushed flight control board based on F3 EVO hardware, supports CleanFlight and BetaFlight firmware.
â- This board comes with motor connectors (4 pcs of 1.25mm 2P) soldered and power connector soldered.
- There are 3 kinds of hardware for its built-in compatible receiver: A---CYRF6936, B---CC2500ï¼C---A7105.
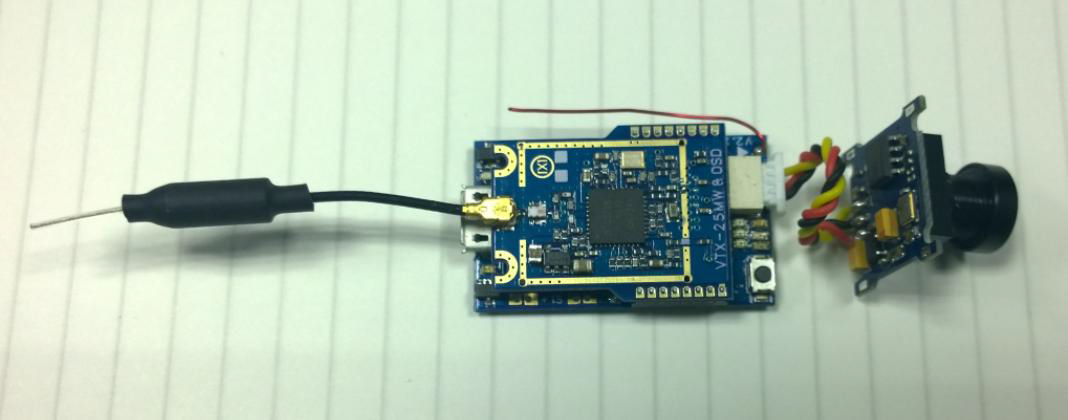
- MX VTX 25MW module (video transmitter) can be plugged and installed on Scisky F3 brushed flight control board directly, no soldering is needed, and also you can plug and play MX VTX-25MW & OSD and the analog camera, please check the following picture for reference: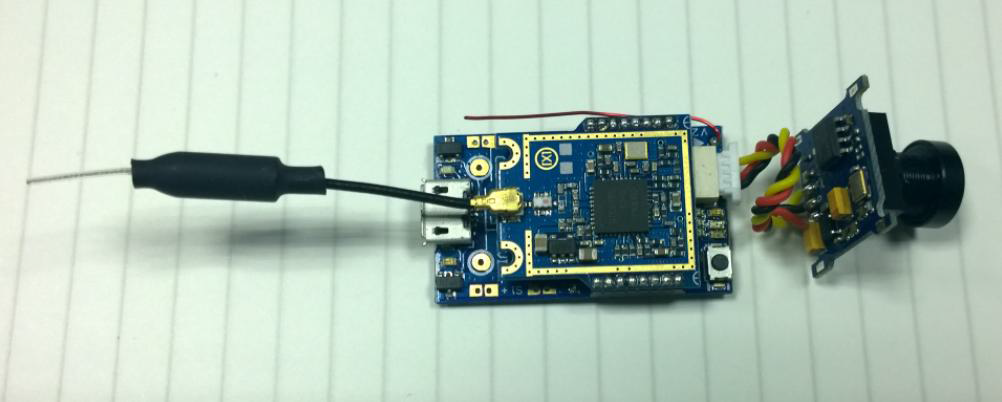
â
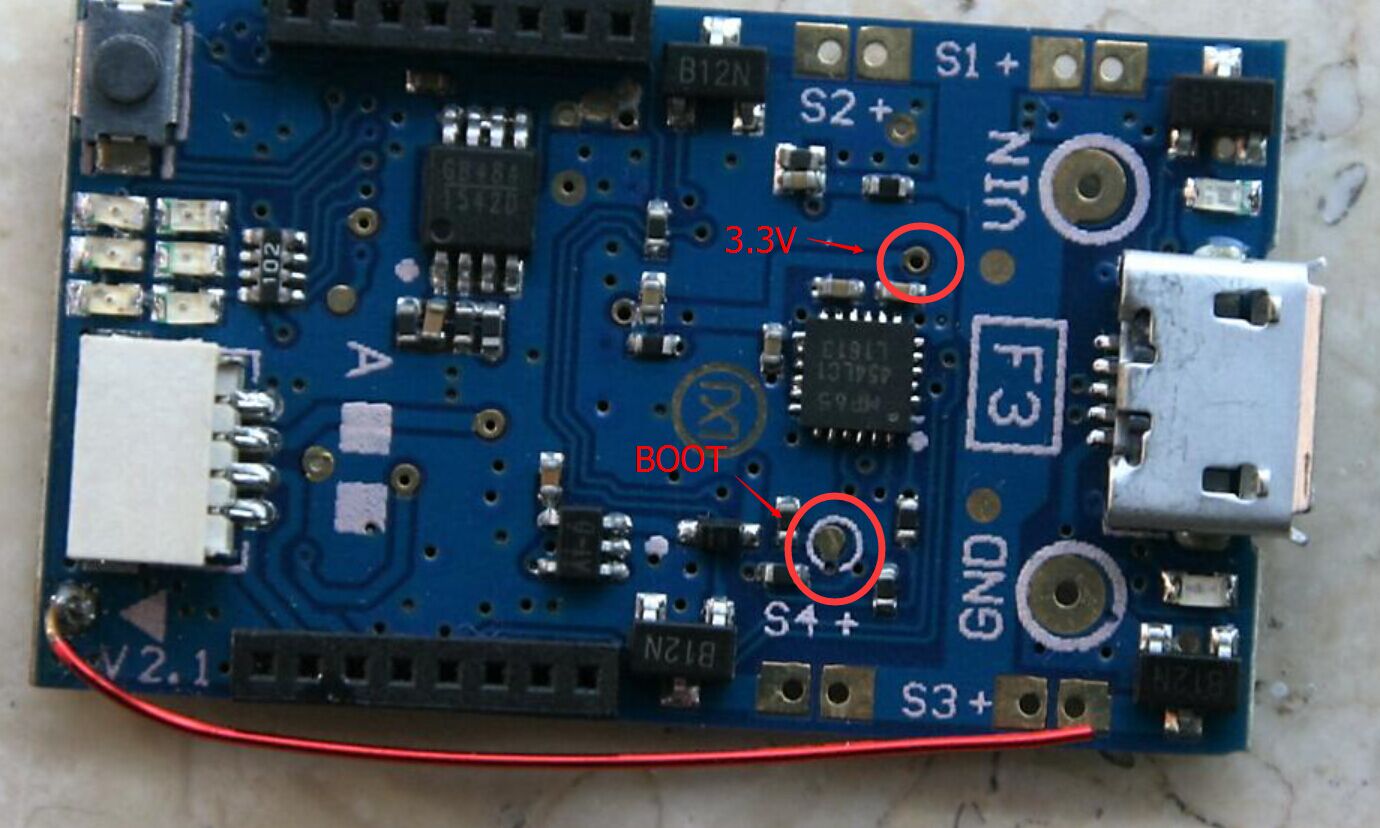
ââM1~M4 ports are for connecting brushed motors, each of which is marked S1, S2, S3 and S4 on the board, â+â is for positive of the brushed motor. COM1 and COM2 are for MX VTX-25MW or MX VTX-25MW & OSD.
â
Frequency checking and setting up on analog video transmitter:
6 LED lights on the board indicates the working frequency of the video transmitter in binary calculation way, LED 1, LED 2, LED 3 represent 5 groups of frequency, LED A, LED B and LED C show 8 frequencies.
Pull the throttle to lowest, press the button slightly, you can check the current working frequency of the VTX (LED lights flash twice); Push the throttle to mid range, double press the button and then enters frequency set up mode; The LED light group shows the current working frequency when the VTX enters frequency set up mode, push or pull Elevator stick up and down, you can change the frequency groups (5 groups), pull Aileron stick right or left, you can change frequency points (8 frequency points in total); After finishing frequency set up, pull or push the throttle stick to highest or lowest position, frequency set up mode quits and the frequency changes to the set up frequency which is save on VTX, LED group lights flashes twice indicates the finished operation.


