Apie šį buildą
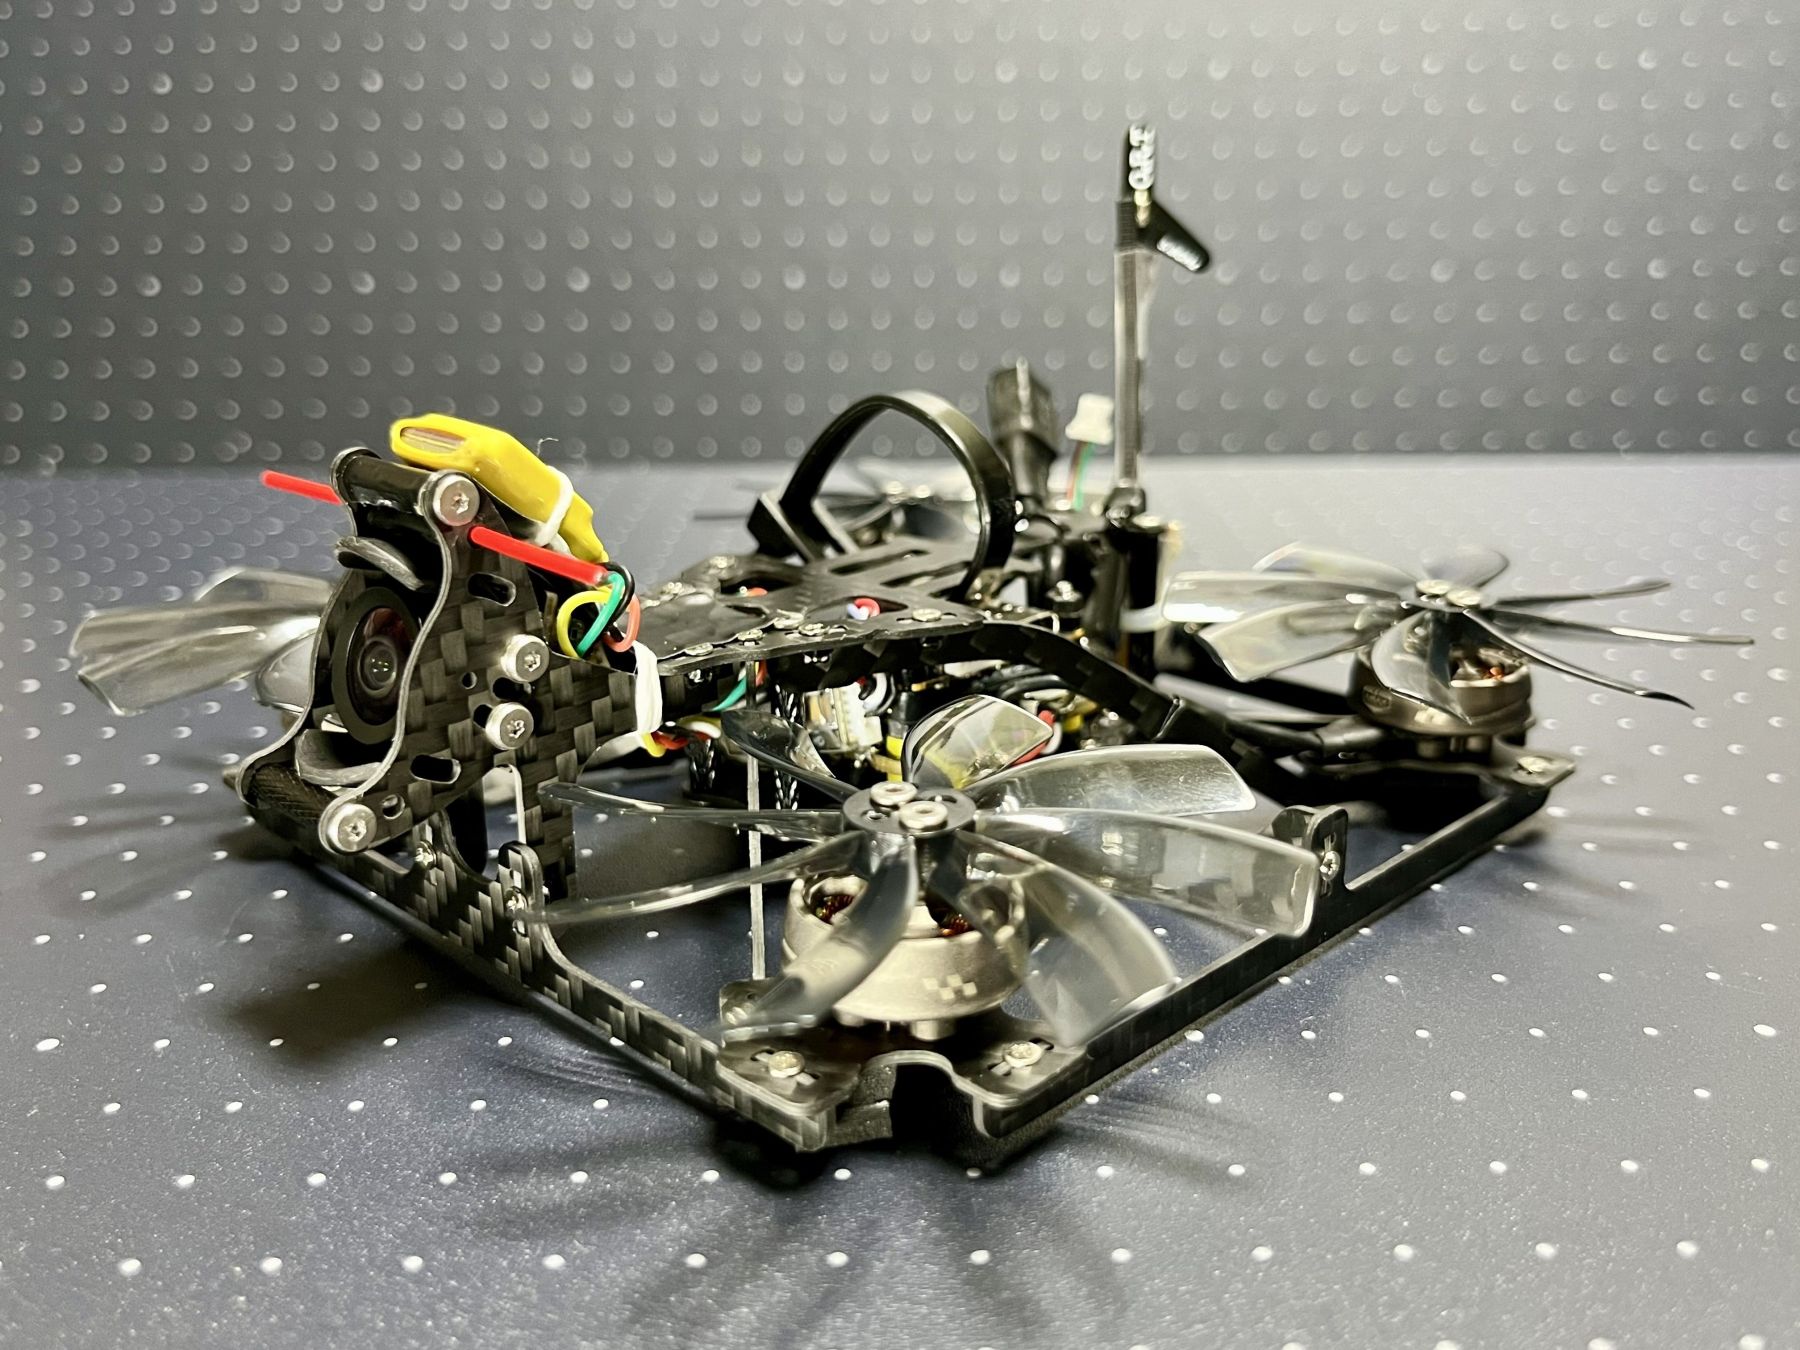
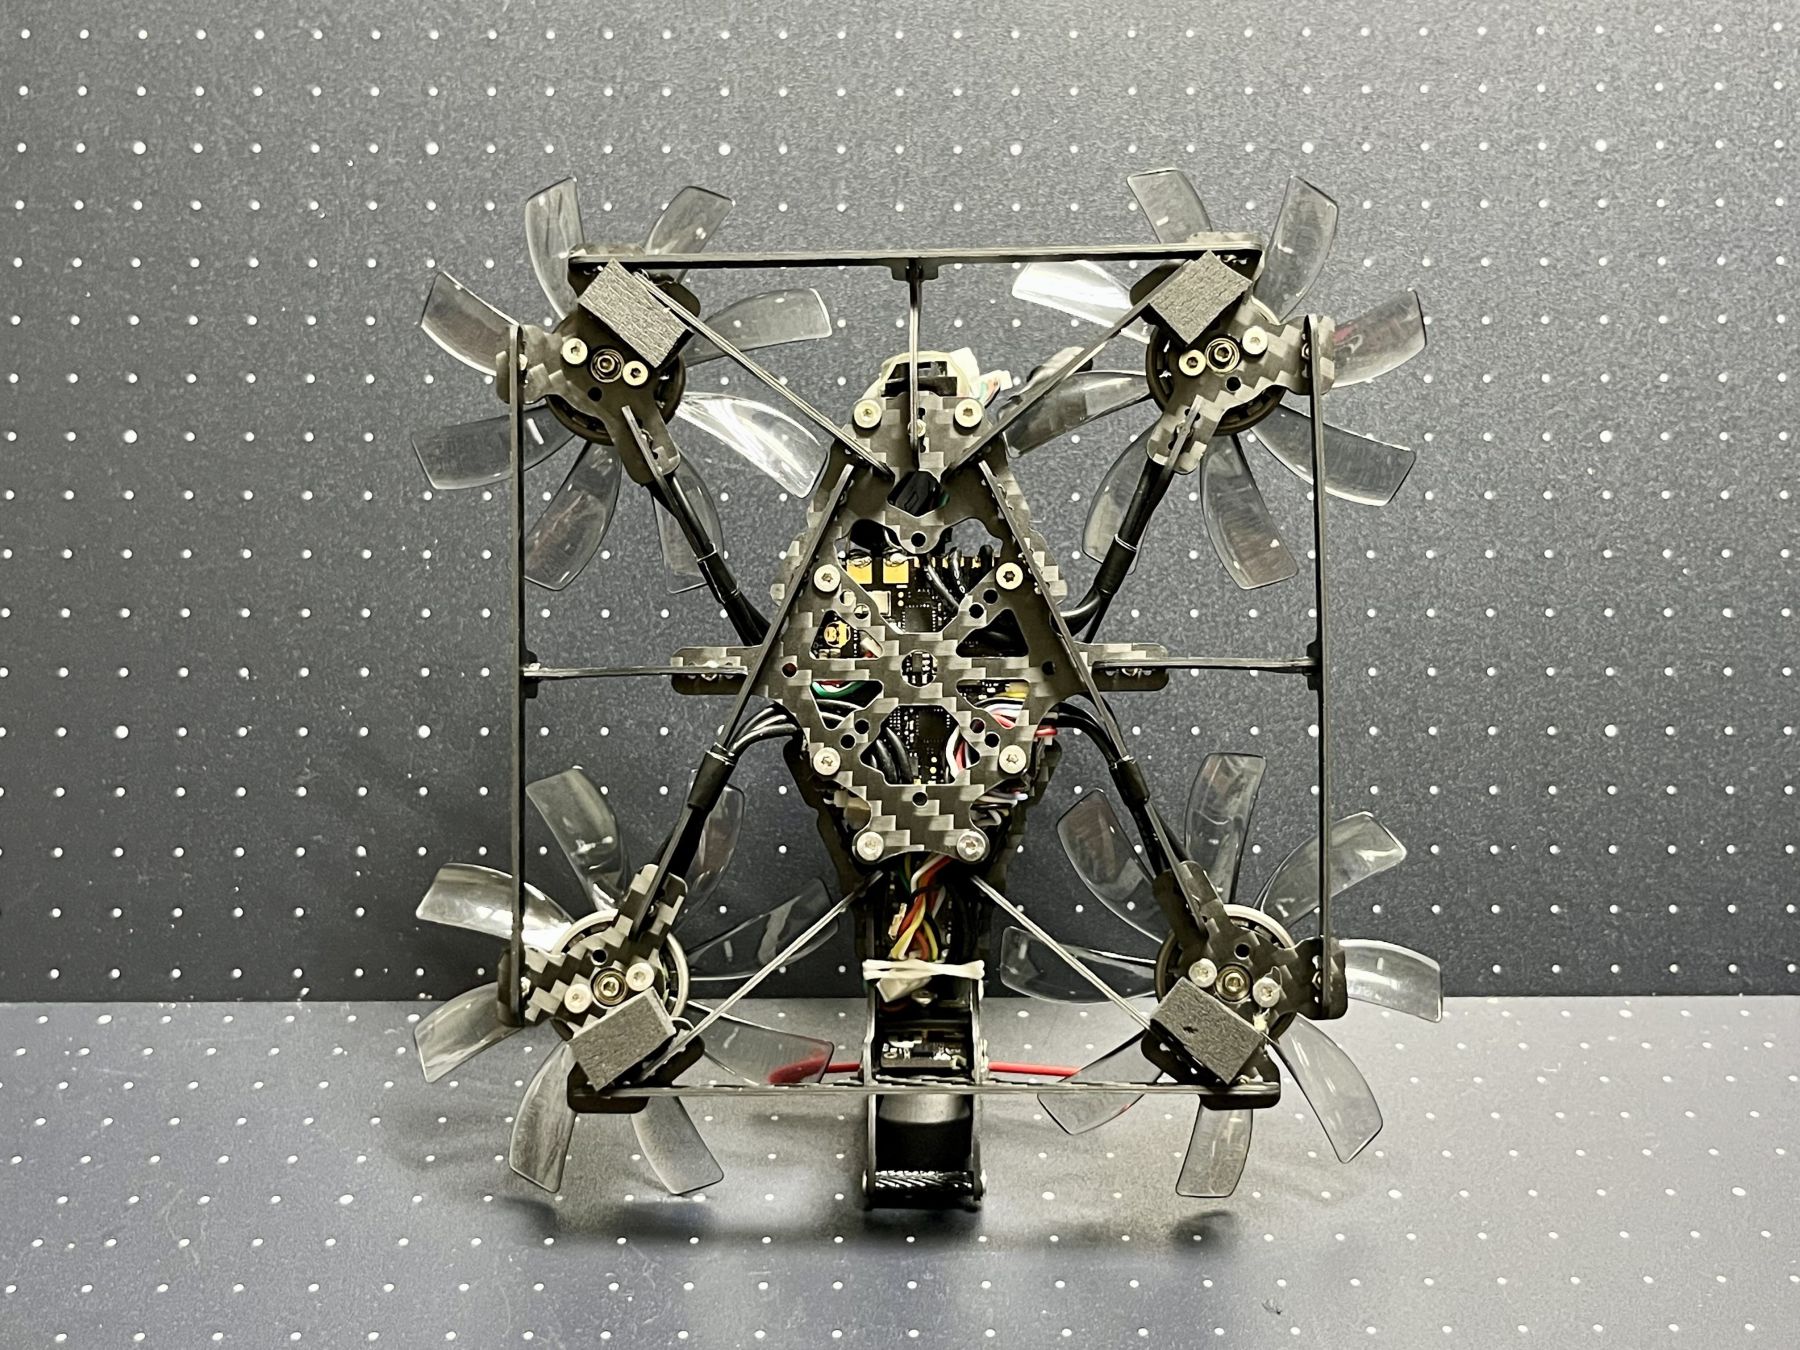
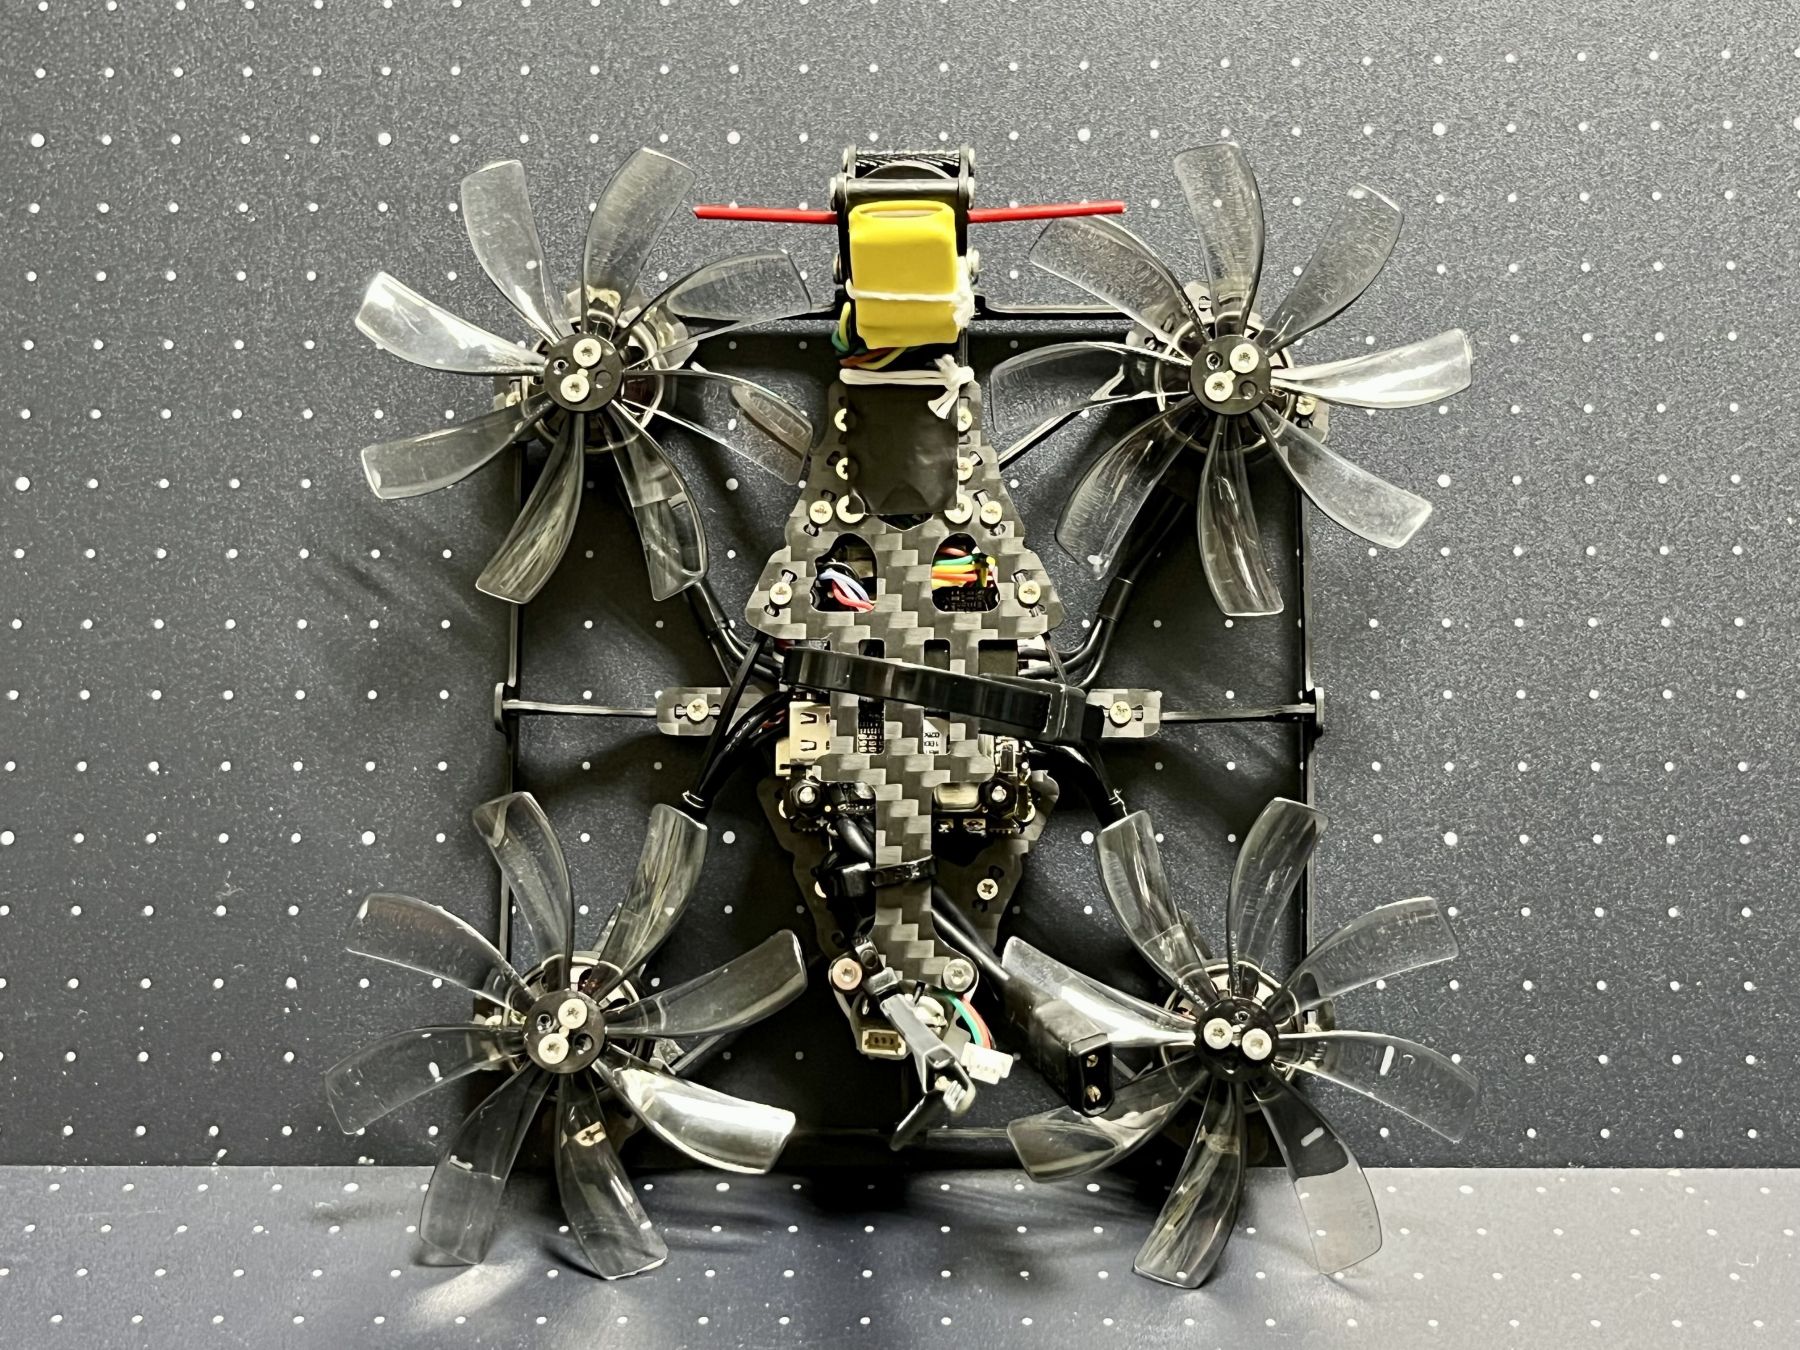
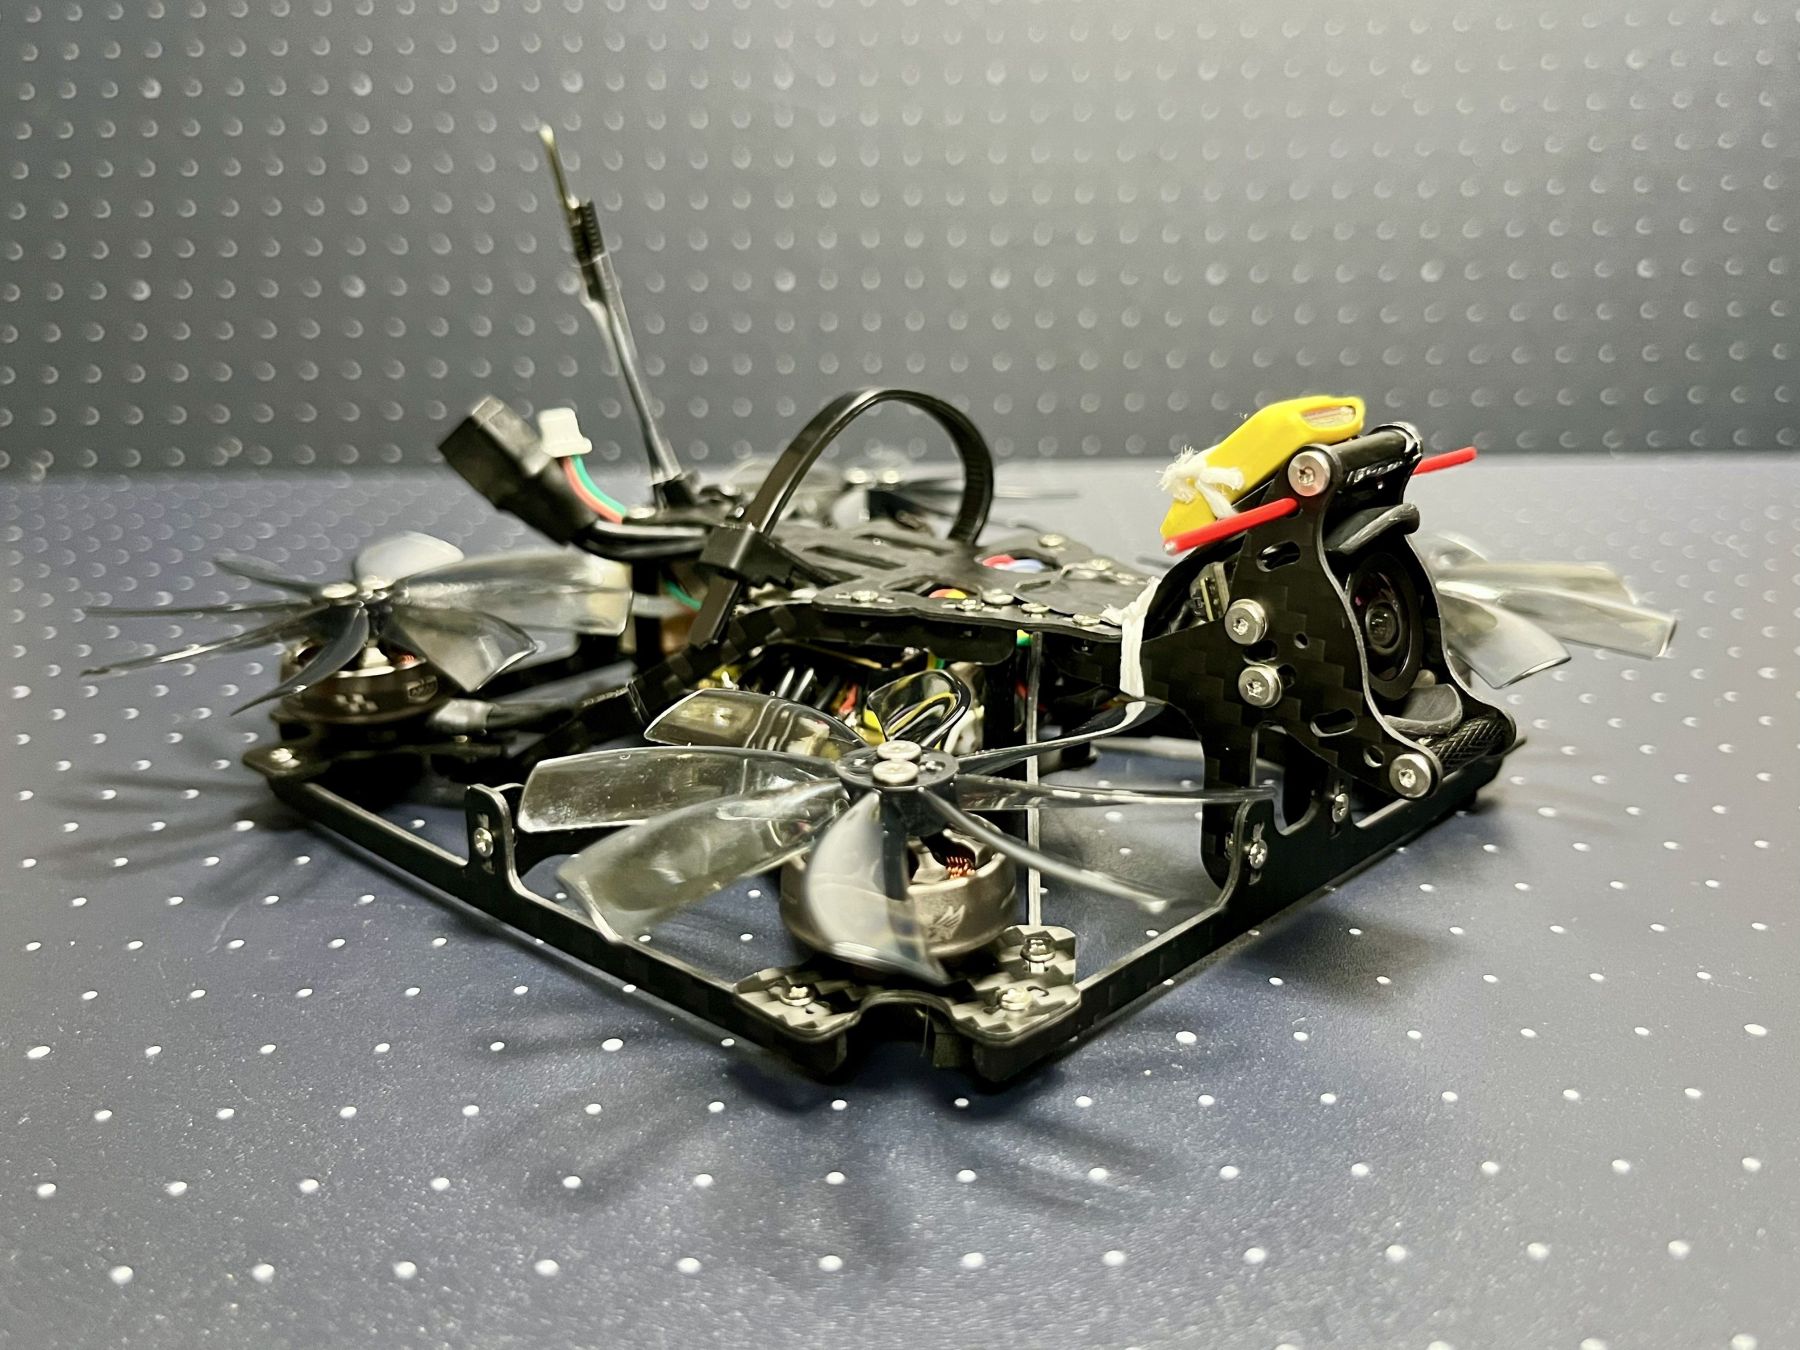
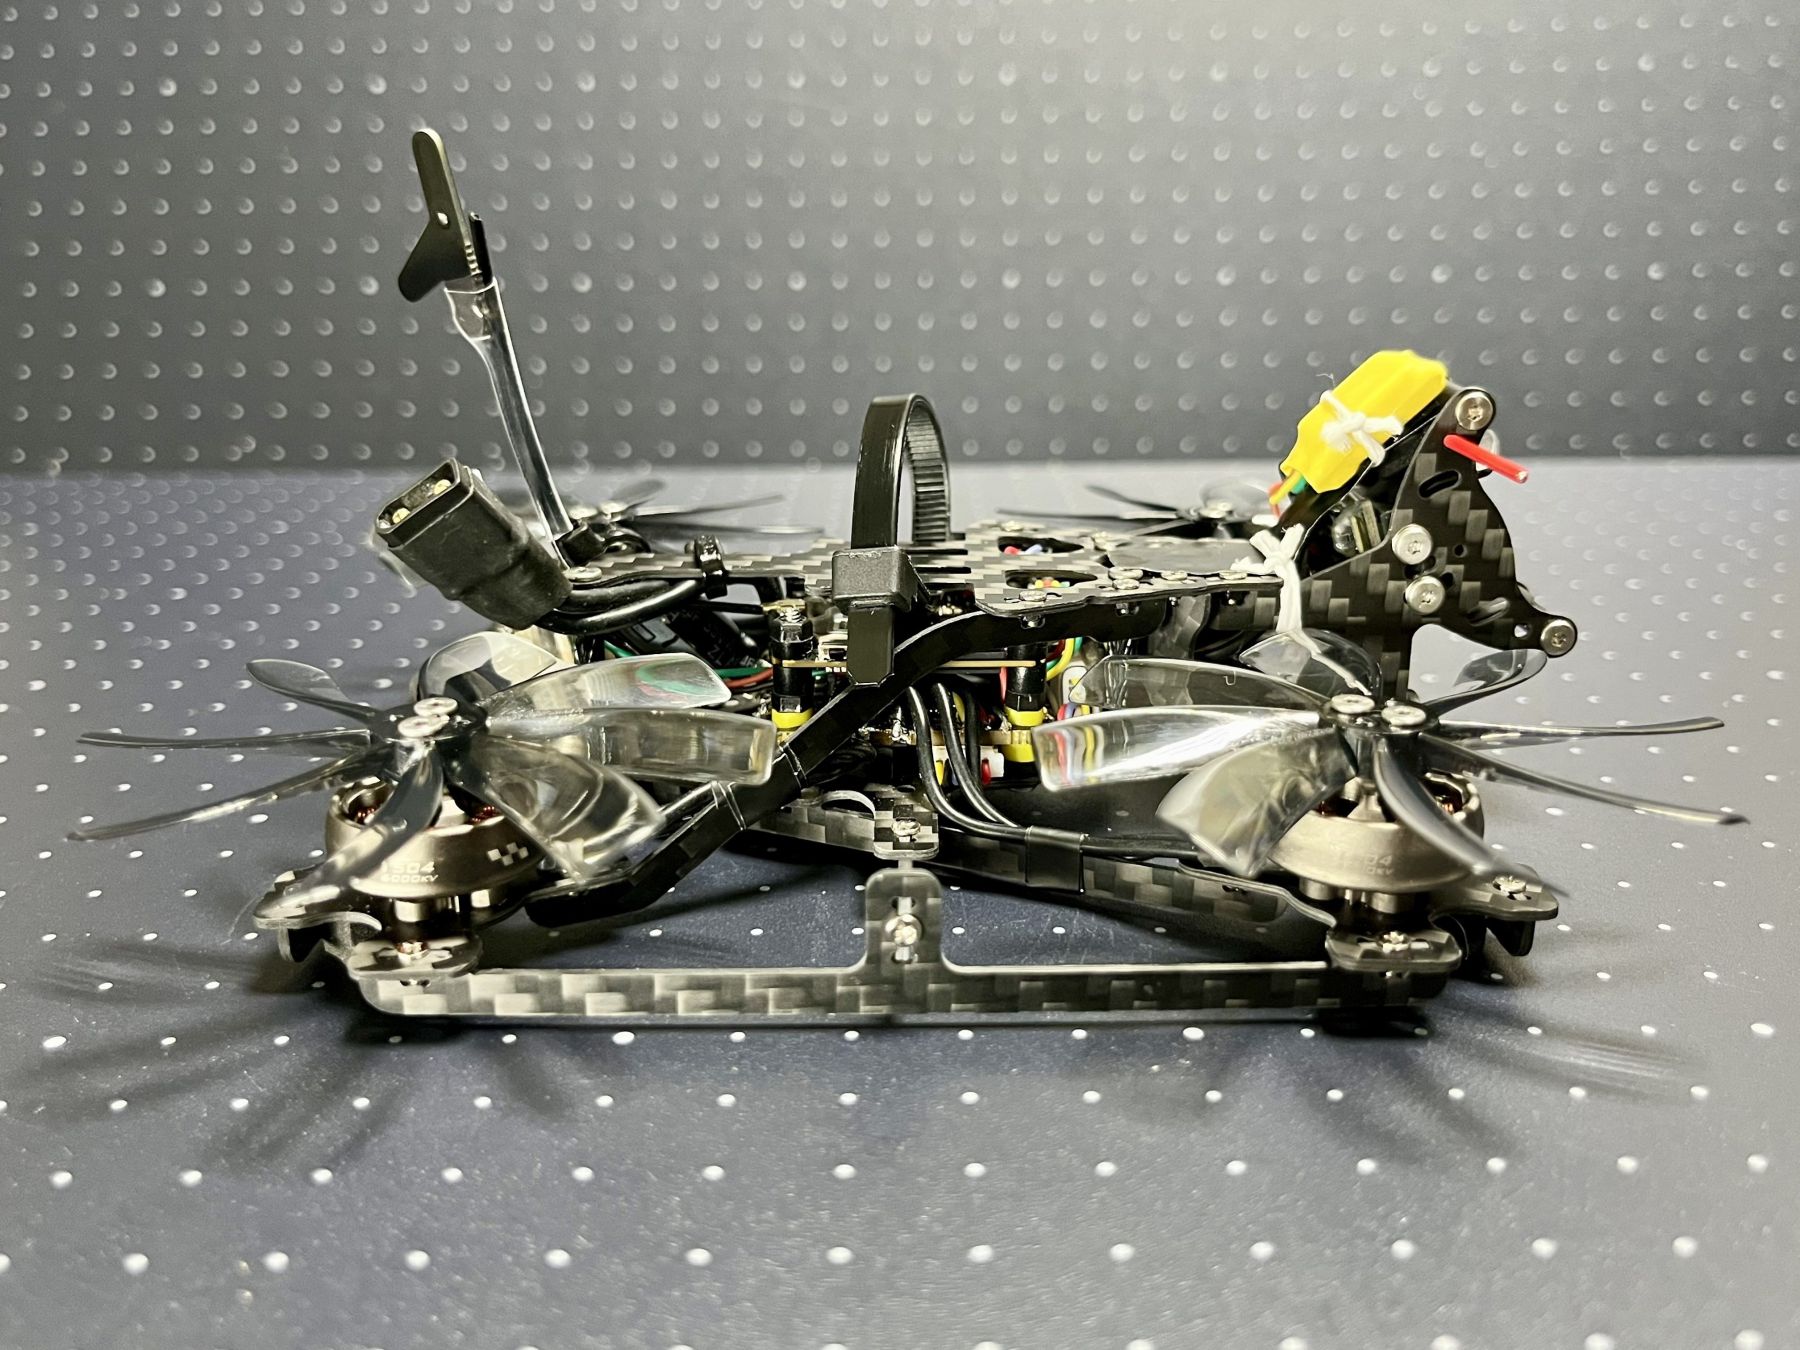
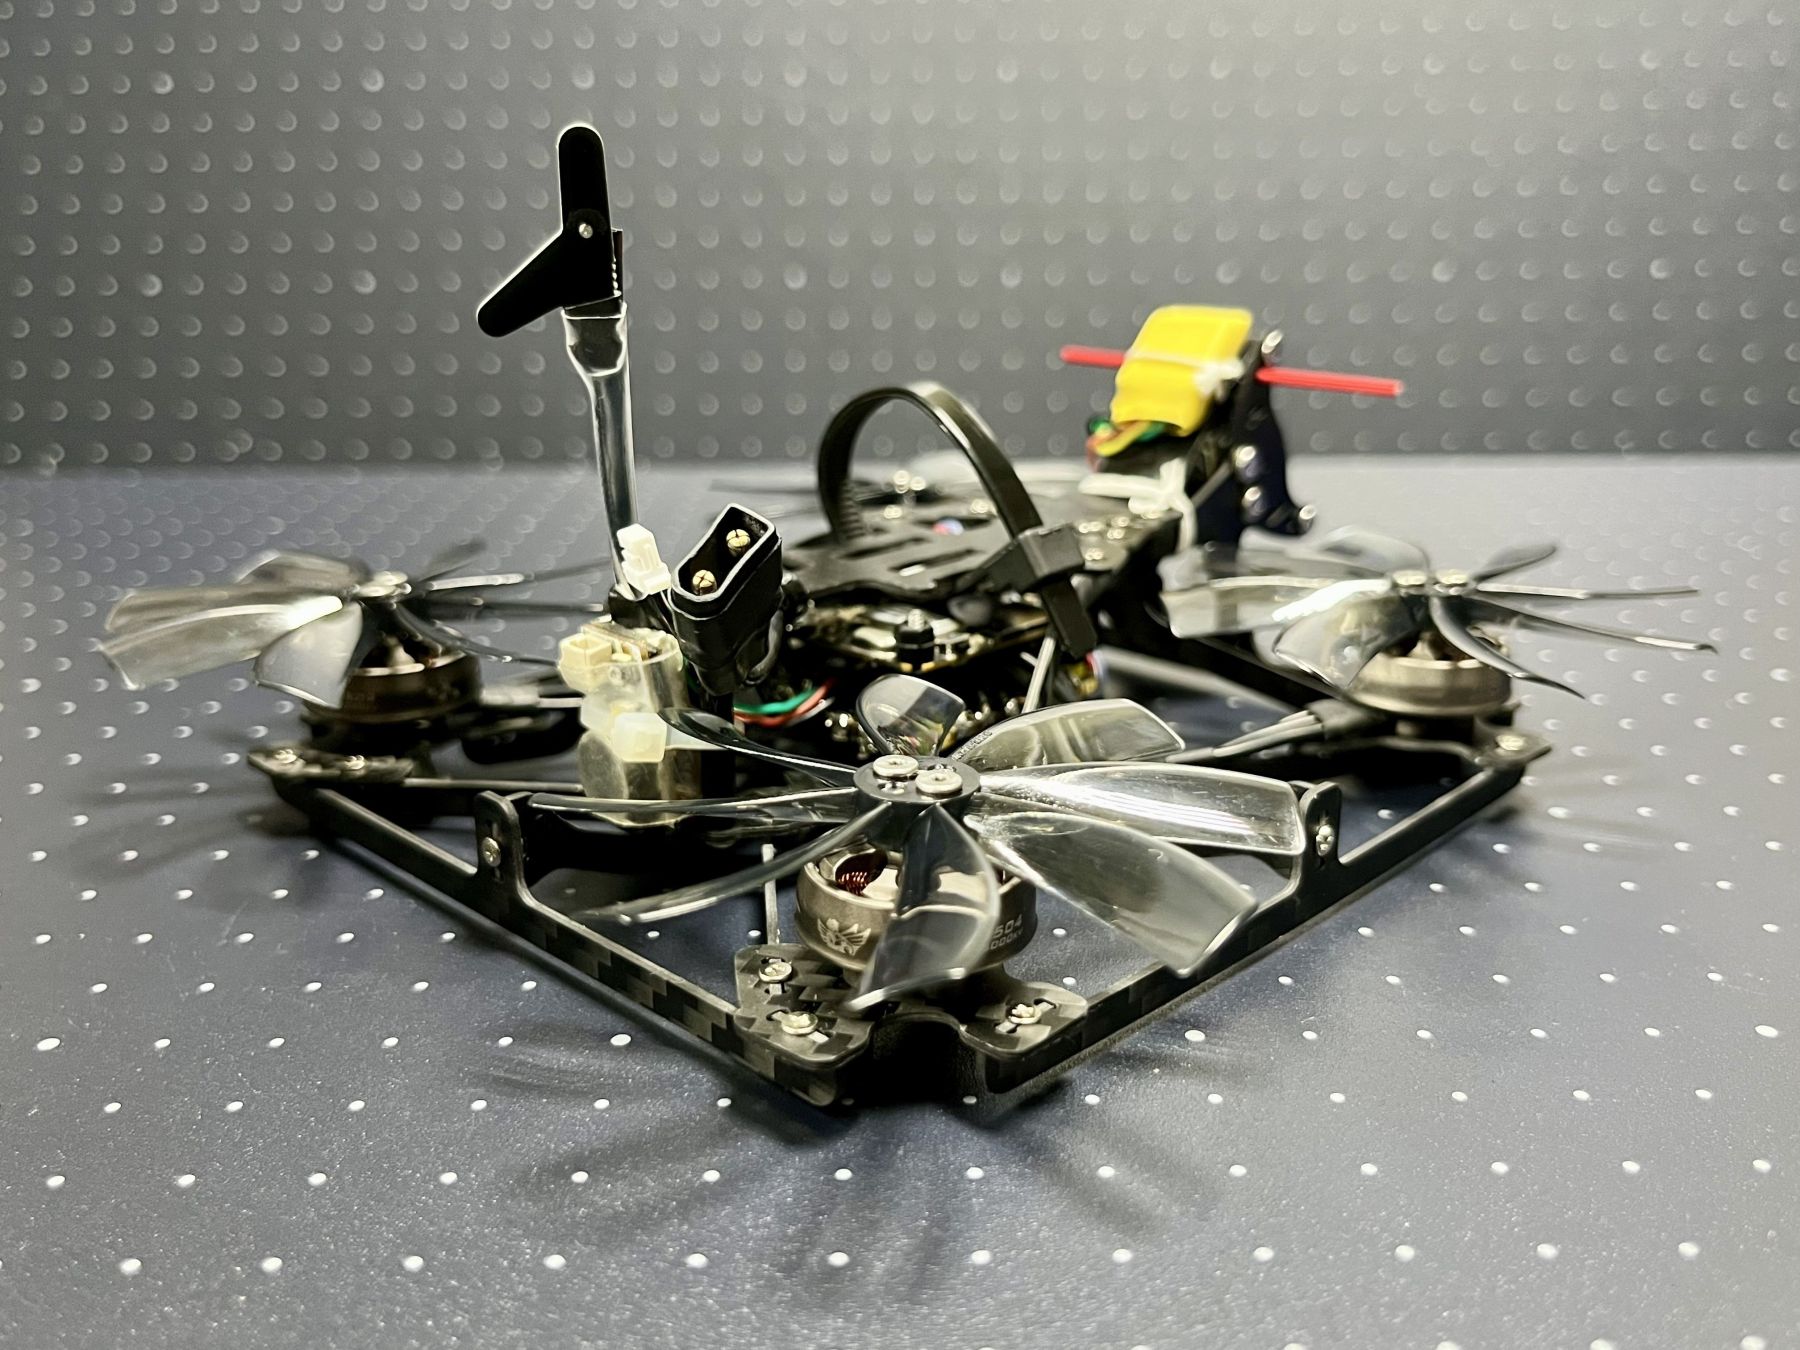
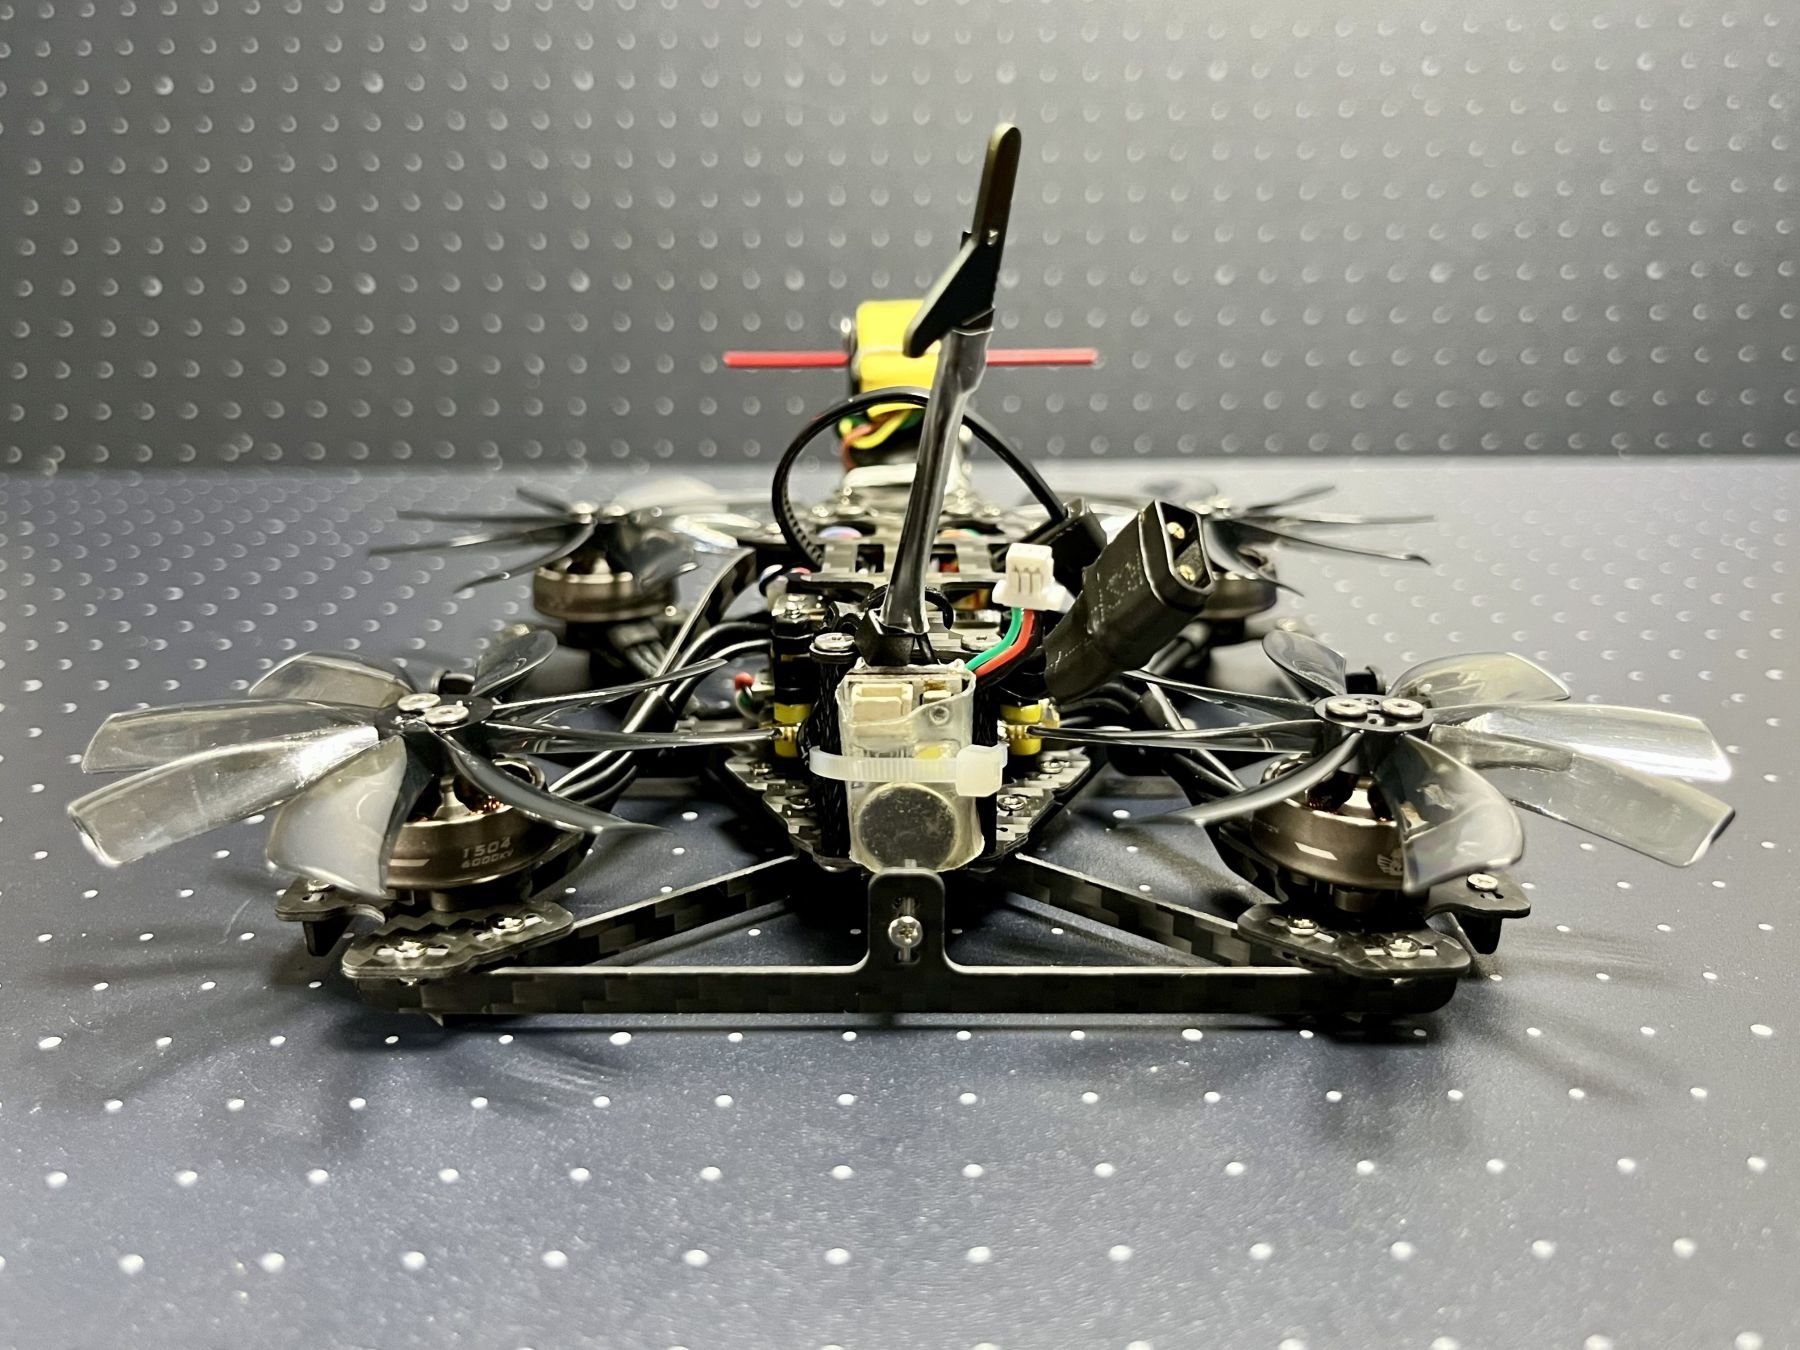
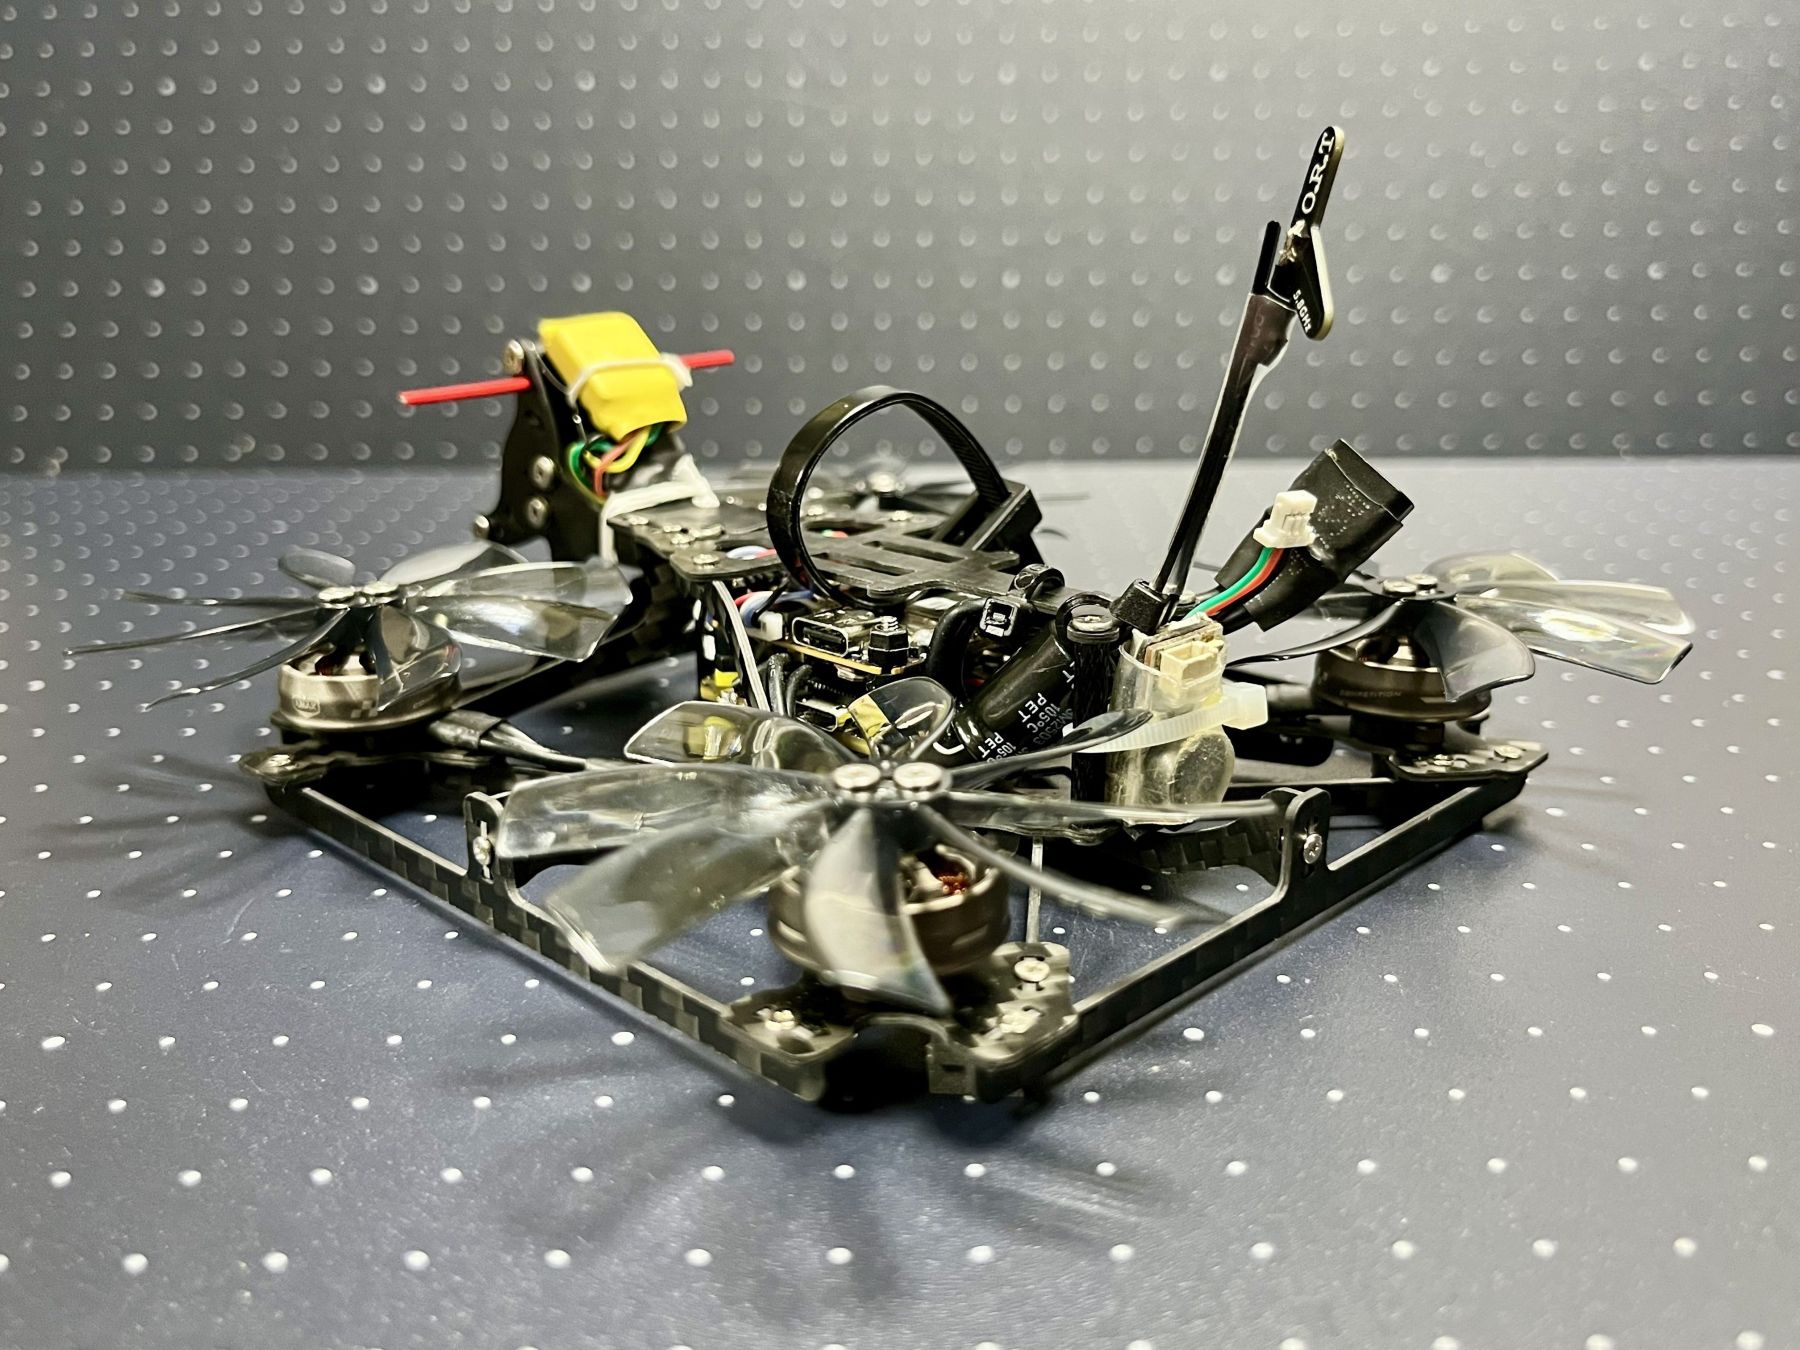
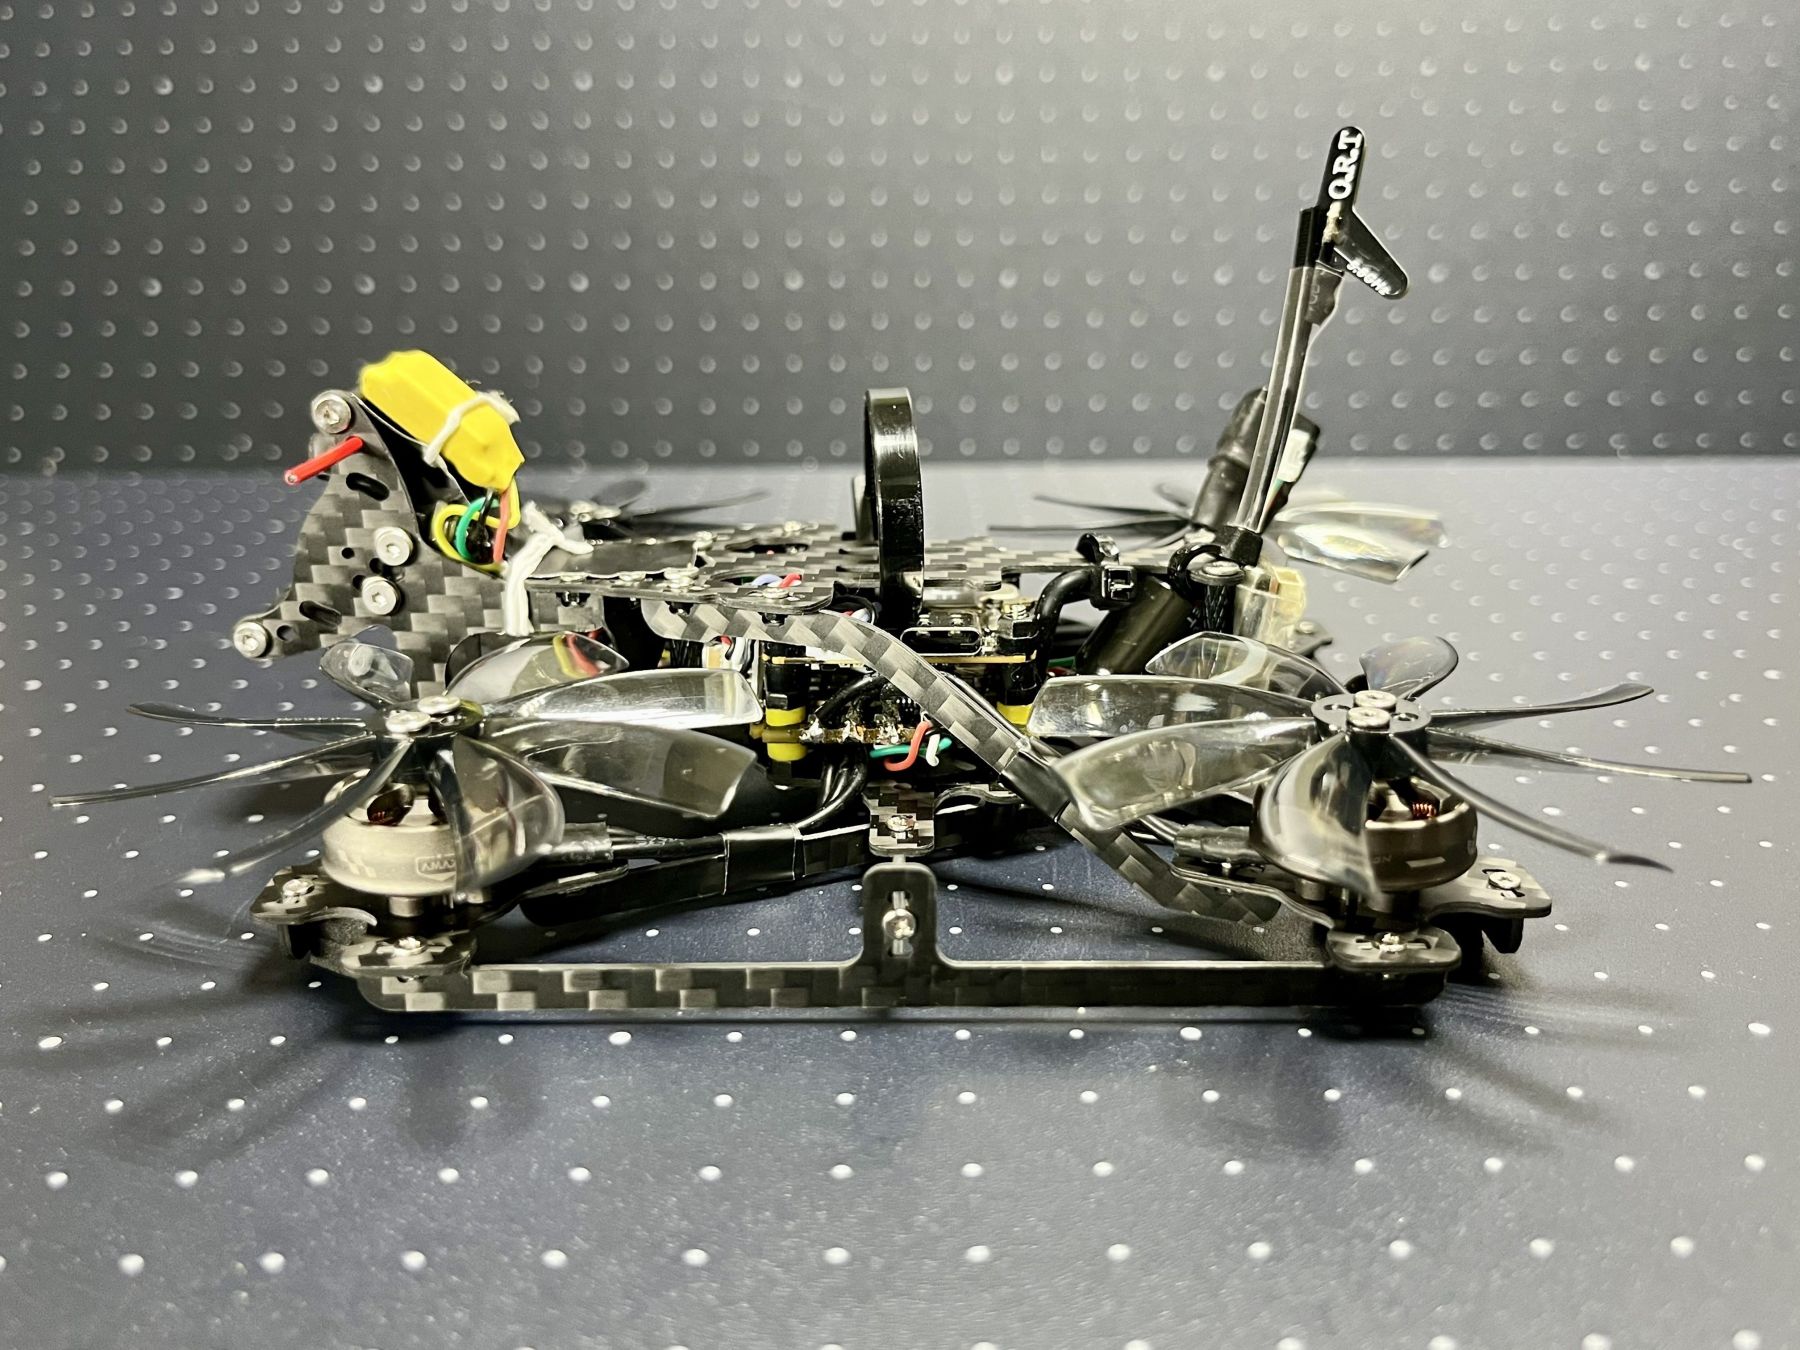
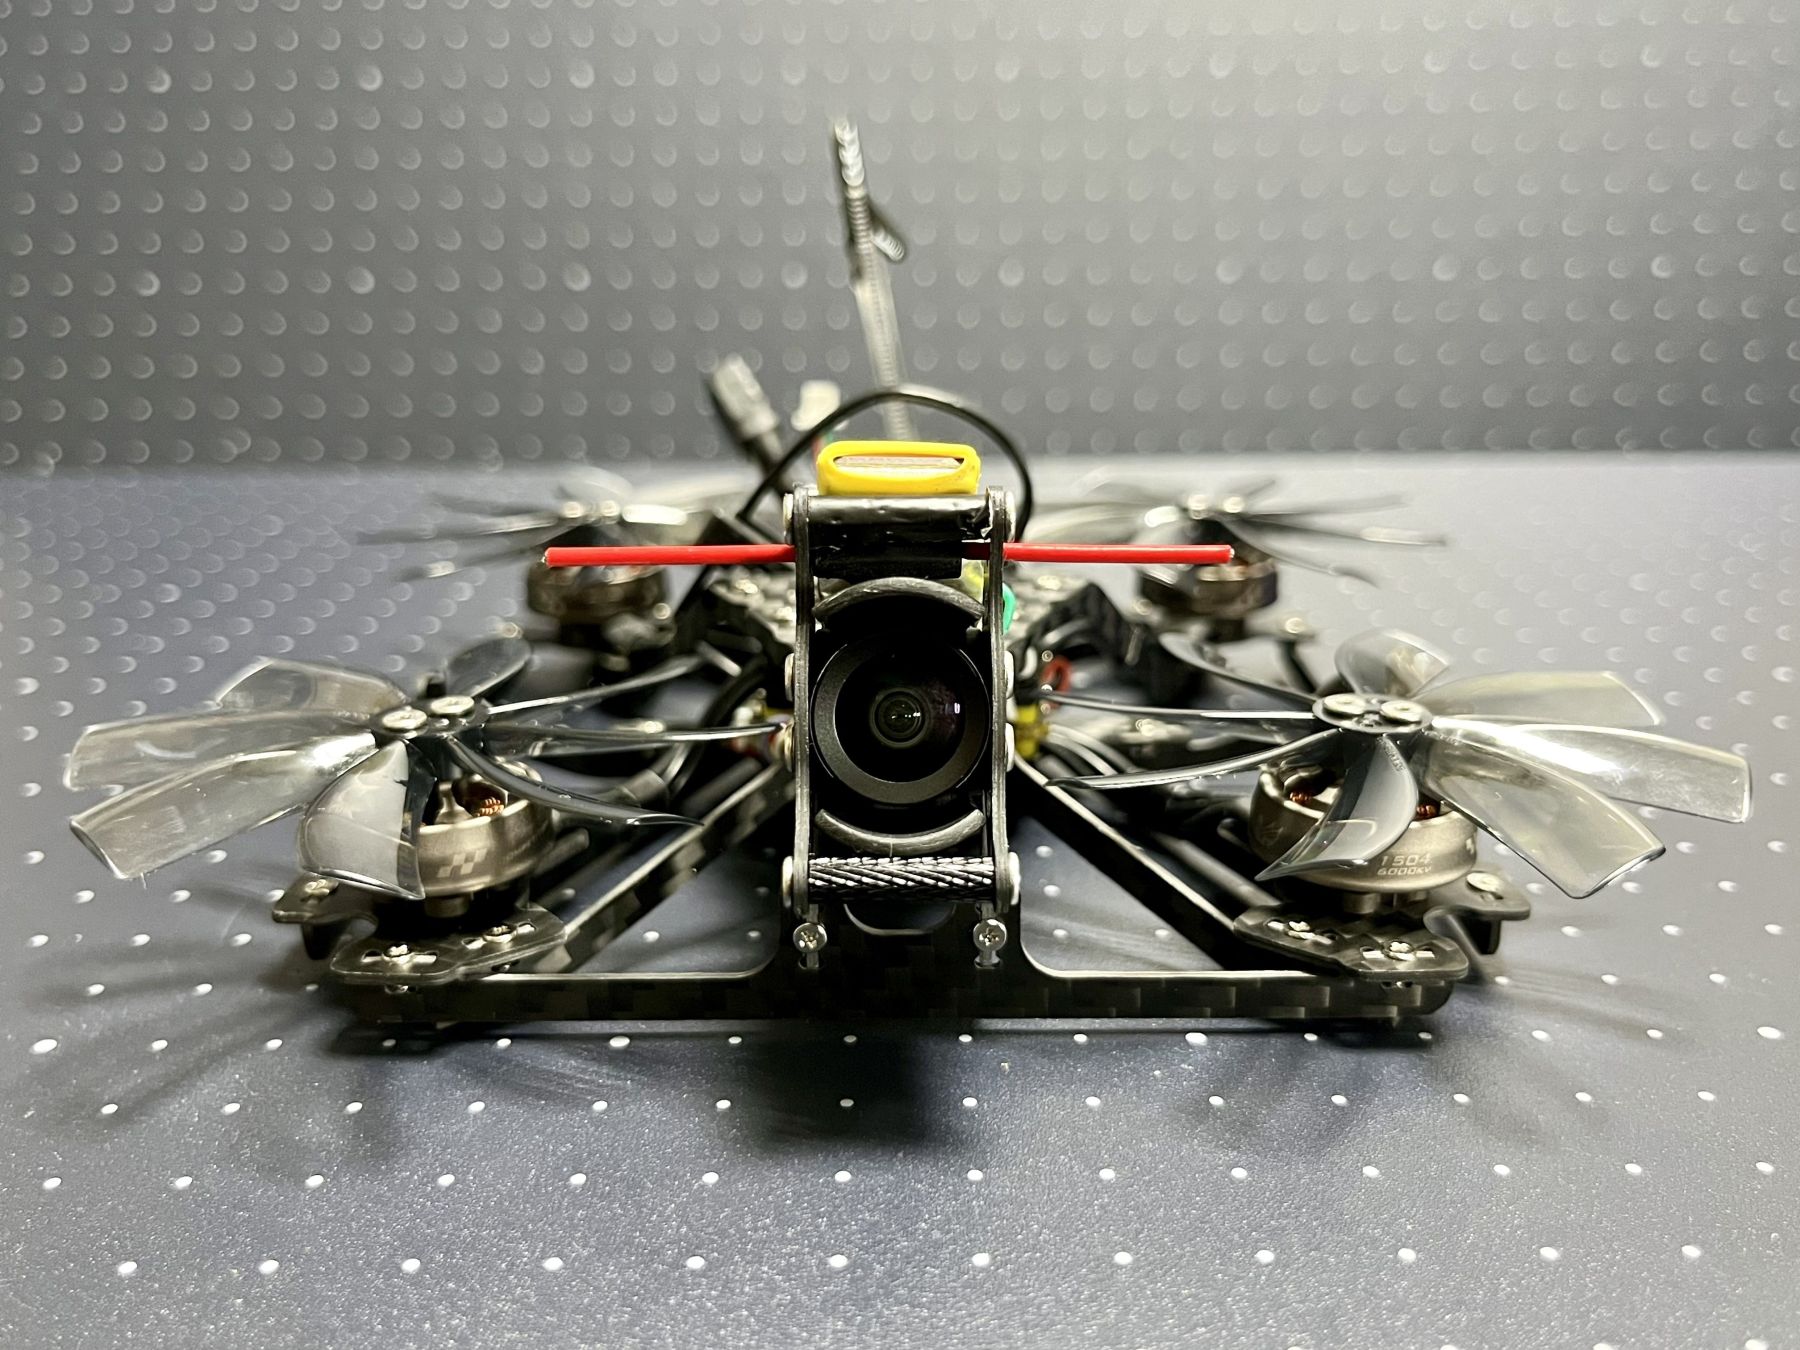
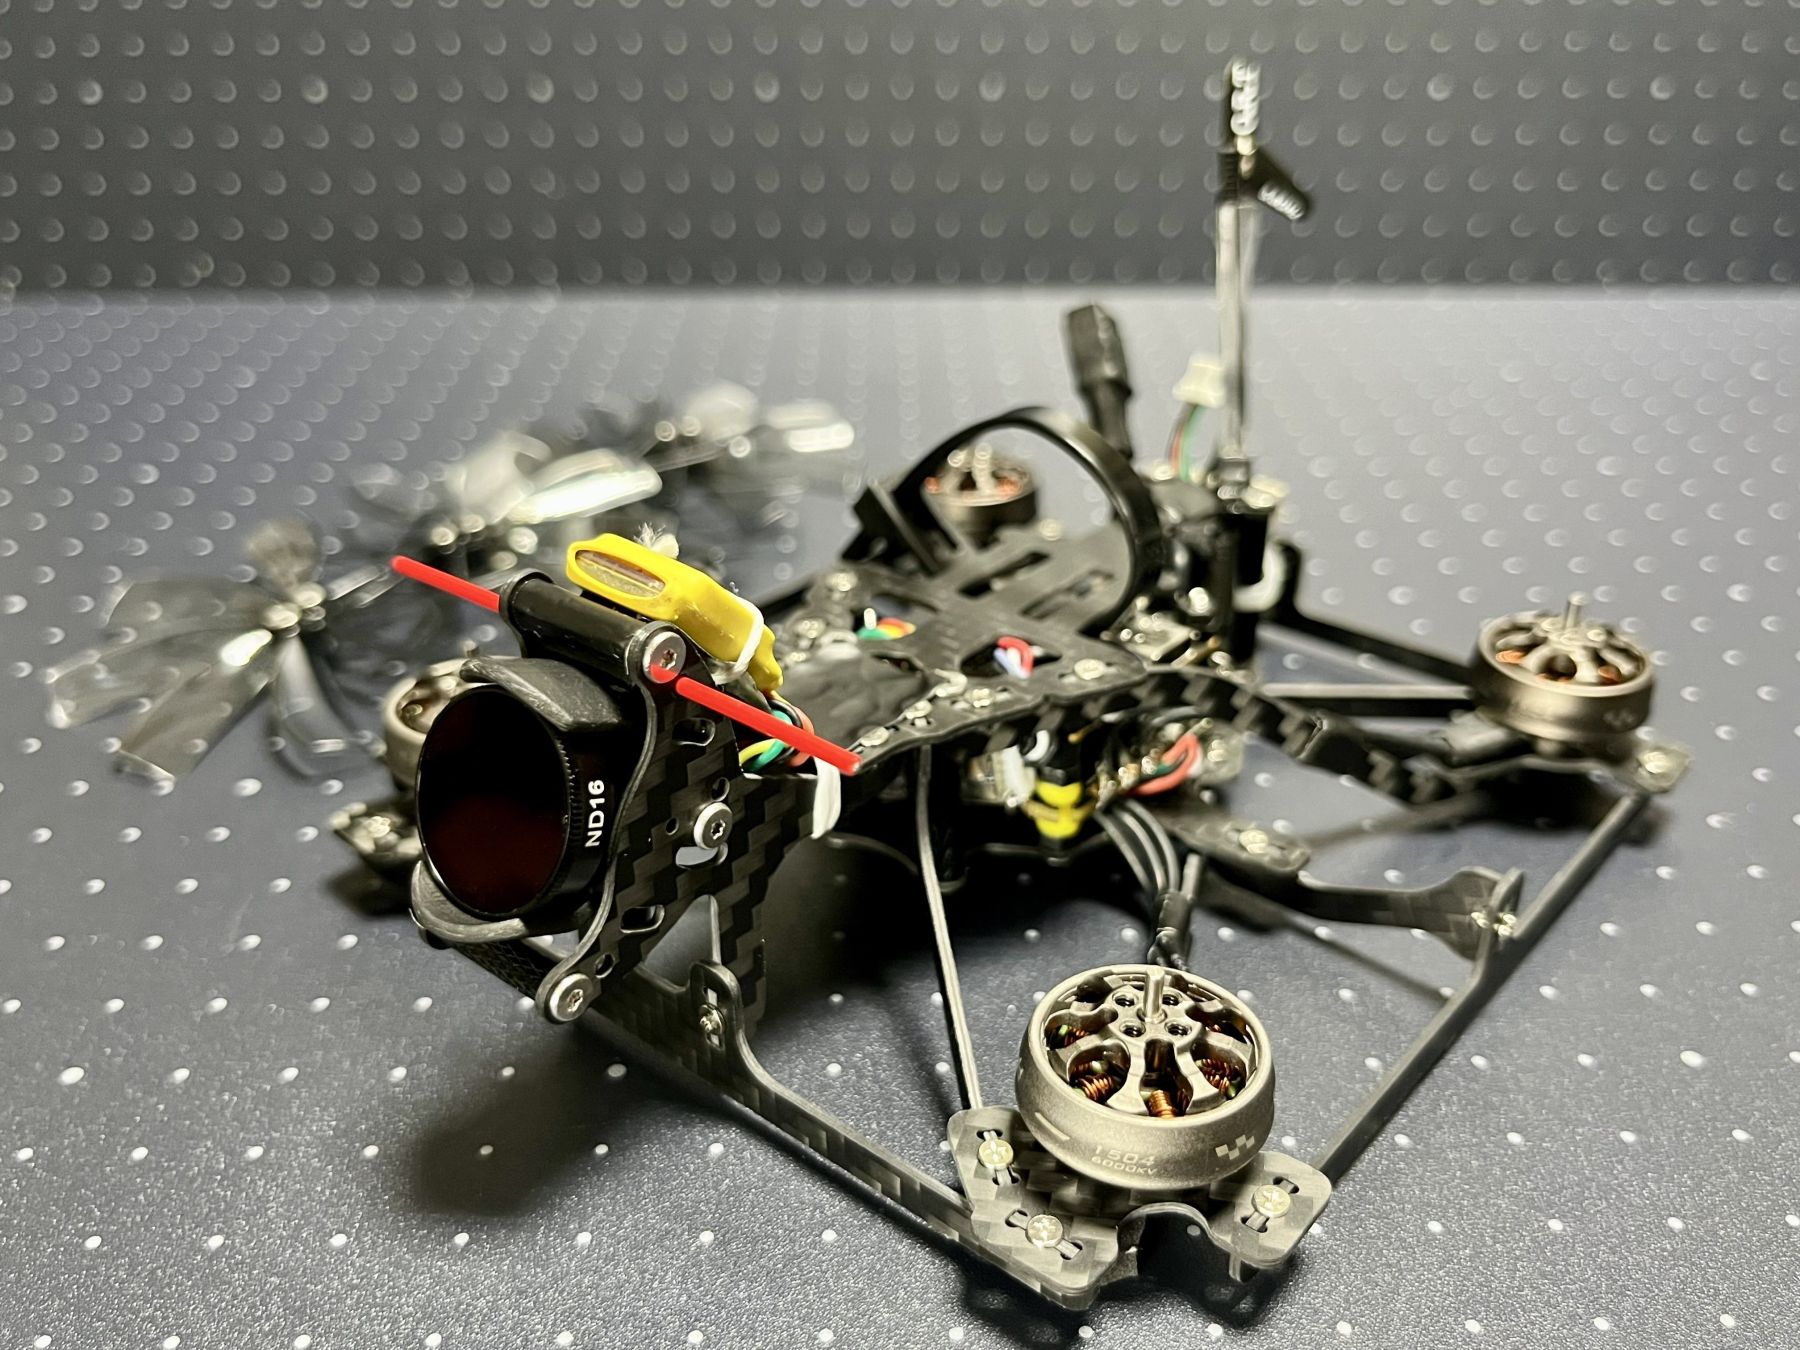
By modifying the structure used in the QT series I introduced previously, I made a new 2.5-inch frame which looks very ordinary. It's four motors are mounted on the same level, and all direct upwards! I had expected it to be less resistant to frame resonance than the QT series, but in reality, it performs quite well. So, I'd like to share it with you all.
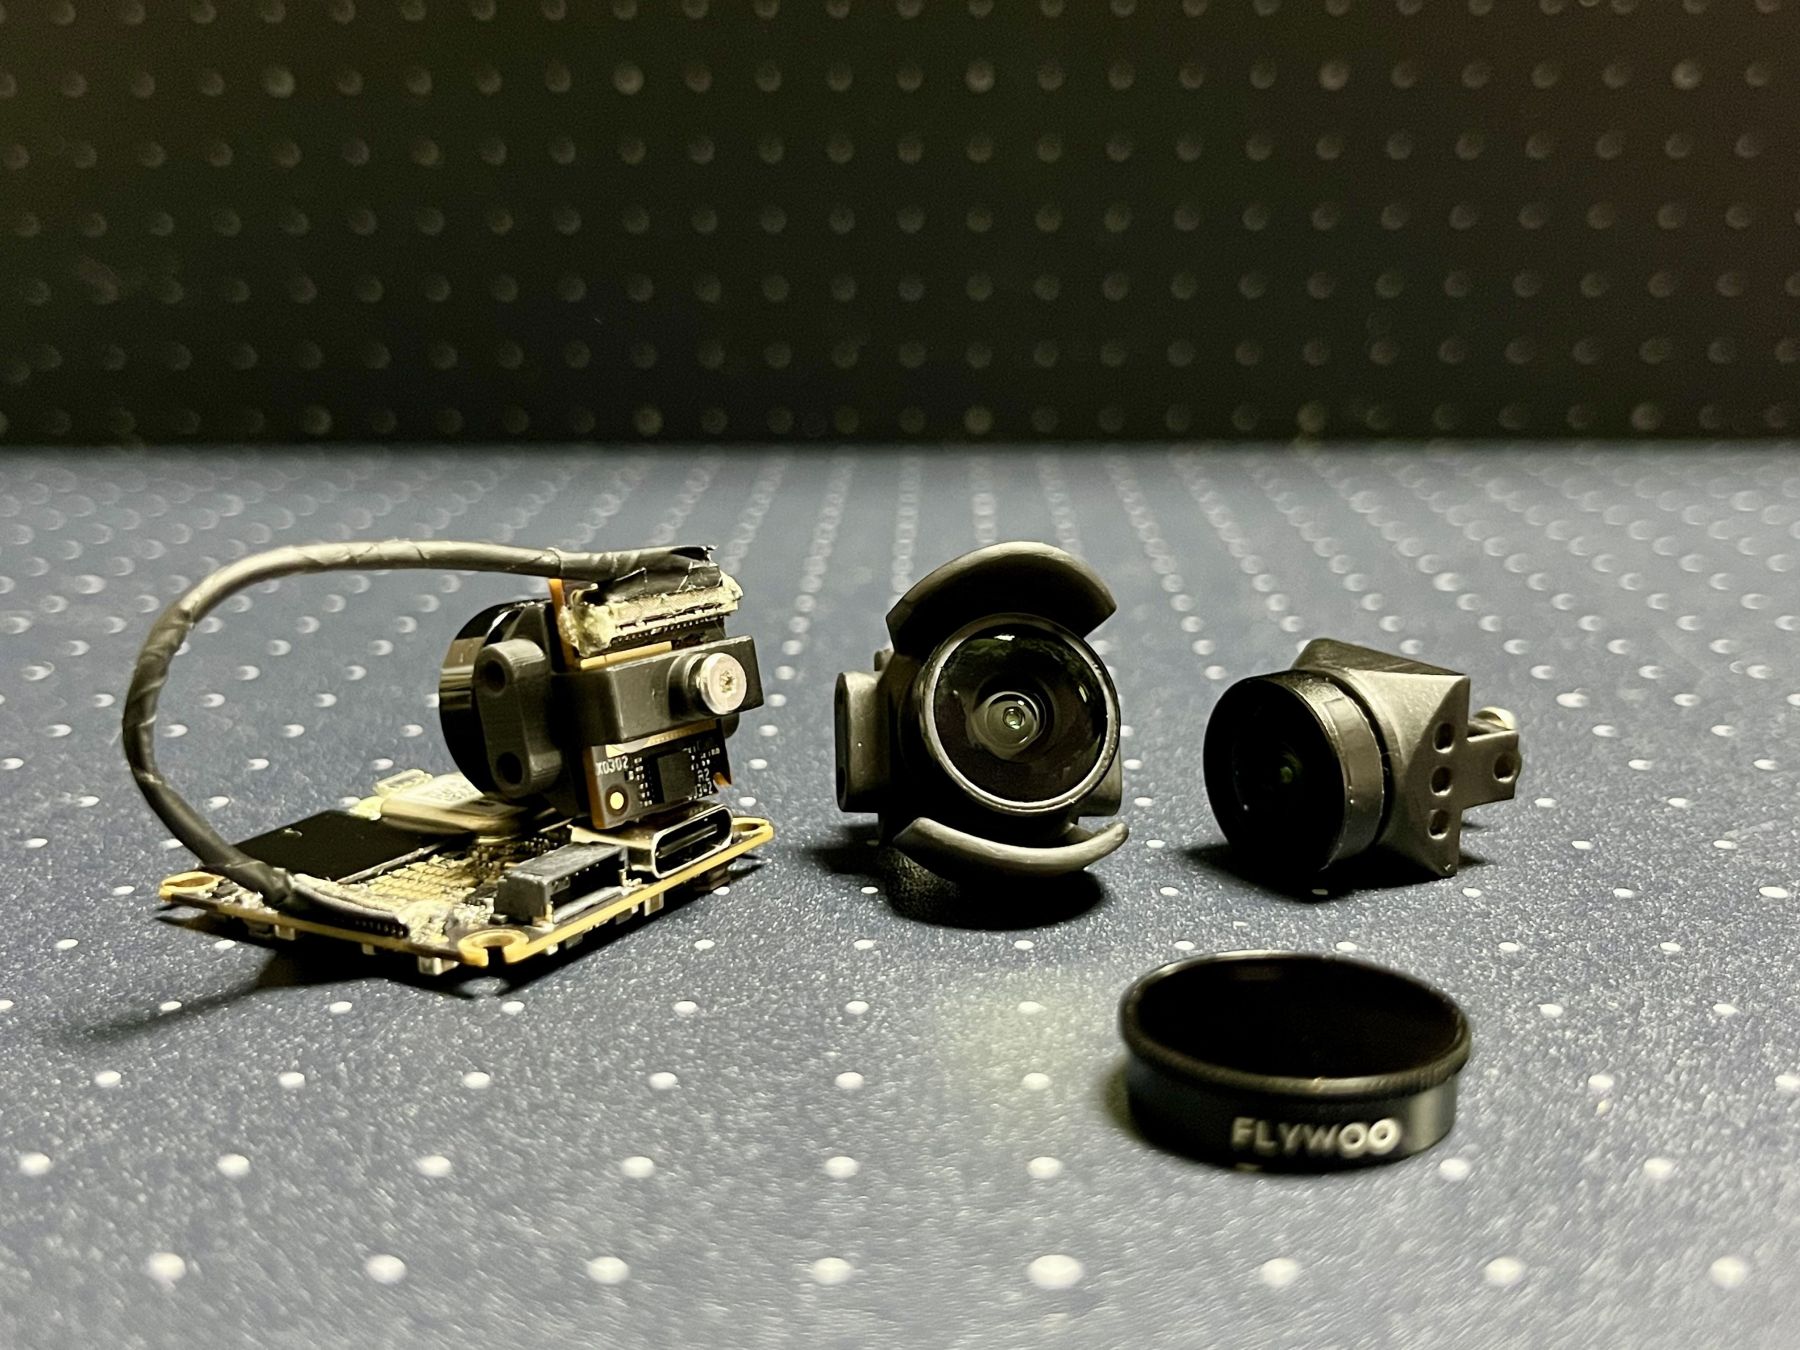
Furthermore I've finally completed my custom O4 camera modification housing for the O3 lens as well as the Flywoo O4 wide-angle lens. It allow you to securely mount the O4 image sensor module using just a single M2x6mm screw, without any adhesive. This makes replacing the sensor module extremely easy. Additional side screw holes had beed added to move the camera forward for avoiding mismatching with the frame having 14mm-wide camera mount when using a 18mm-wide Flywoo Naked O3 camera ND filter. (Note: The diameters of the O3 lens and the Flywoo O4 wide-angle lens differ slightly: the former is approximately 14.20mm, while the latter is approximately 13.96mm. Therefore, when using the Flywoo Naked O3 ND filter, you will need to apply a 0.1mm-thick piece of tape to the latter lens. However, Flywoo O4 wide-angle lens is better suited for carbon frames with a camera mount width of 14mm. As for FOV, the O3 lens is slightly wider than the Flywoo O4 wide-angle lens. Thats why I concluded that Runcam didnt develop the latter simply as a clone of the former.)
Design ConceptThe QT series are based on the structure having four tetrahedrons, all of which share one common and most important edge (battery mount plate, or "center plate" hereafter), and any two adjacent pair of them share one common edge (main arm with motor mount at the end vertex). To make the center plate horizontal, the motor mounts are placed different height between the front pair and the rear pair. On the other hand, in order to place all four motor mounts align horizontally, the center plate seems to be tilted in the naive wire design. However, in the actual design for frames with carbon plates (which are cut by an ordinary 2-axis milling machine), the center plate becomes verticall just like the side braces of QT siries. Although this structure may be literally possible, it would be more convenient to replace the center plate by a box made of two horizontal plates (the battery mount plate and the FC (with ESC and VTX) mount plate) and four standoffs as usual frames.
Build-
Frame : QT-Flat25 KIT (In the release version, the camera mount plates are slightly shorter to prevent the front propellers from coming into contact with the T-antenna located in the lower mounting holes of the camera mount plates.)
- Wheelbase : 121.6mm (true-X)
- Thickness : 1mm (Please avoid collisions as much as possible, especially for 3+ S builds. In fact, some narrow plates may break from a single impact. The strength of thin, narrow carbon plates is limited to specific directions.)
- Motor mount : 9x2mm, 4 holes; M2
- FC mount : 25.5x25.5mm, 20x20mm, 16x16mm, M2
- Stack height : 20mm including nuts (limited unlike the QT series. Because of this drawback, I an hesitant to build larger frames using the QT-Flat design.)
- Compatible with whoop style USB connector
- Compatible camera width : 14mm (including O4 original mount)
- Built-in battery strap holder (can use up to 15mm width strap)
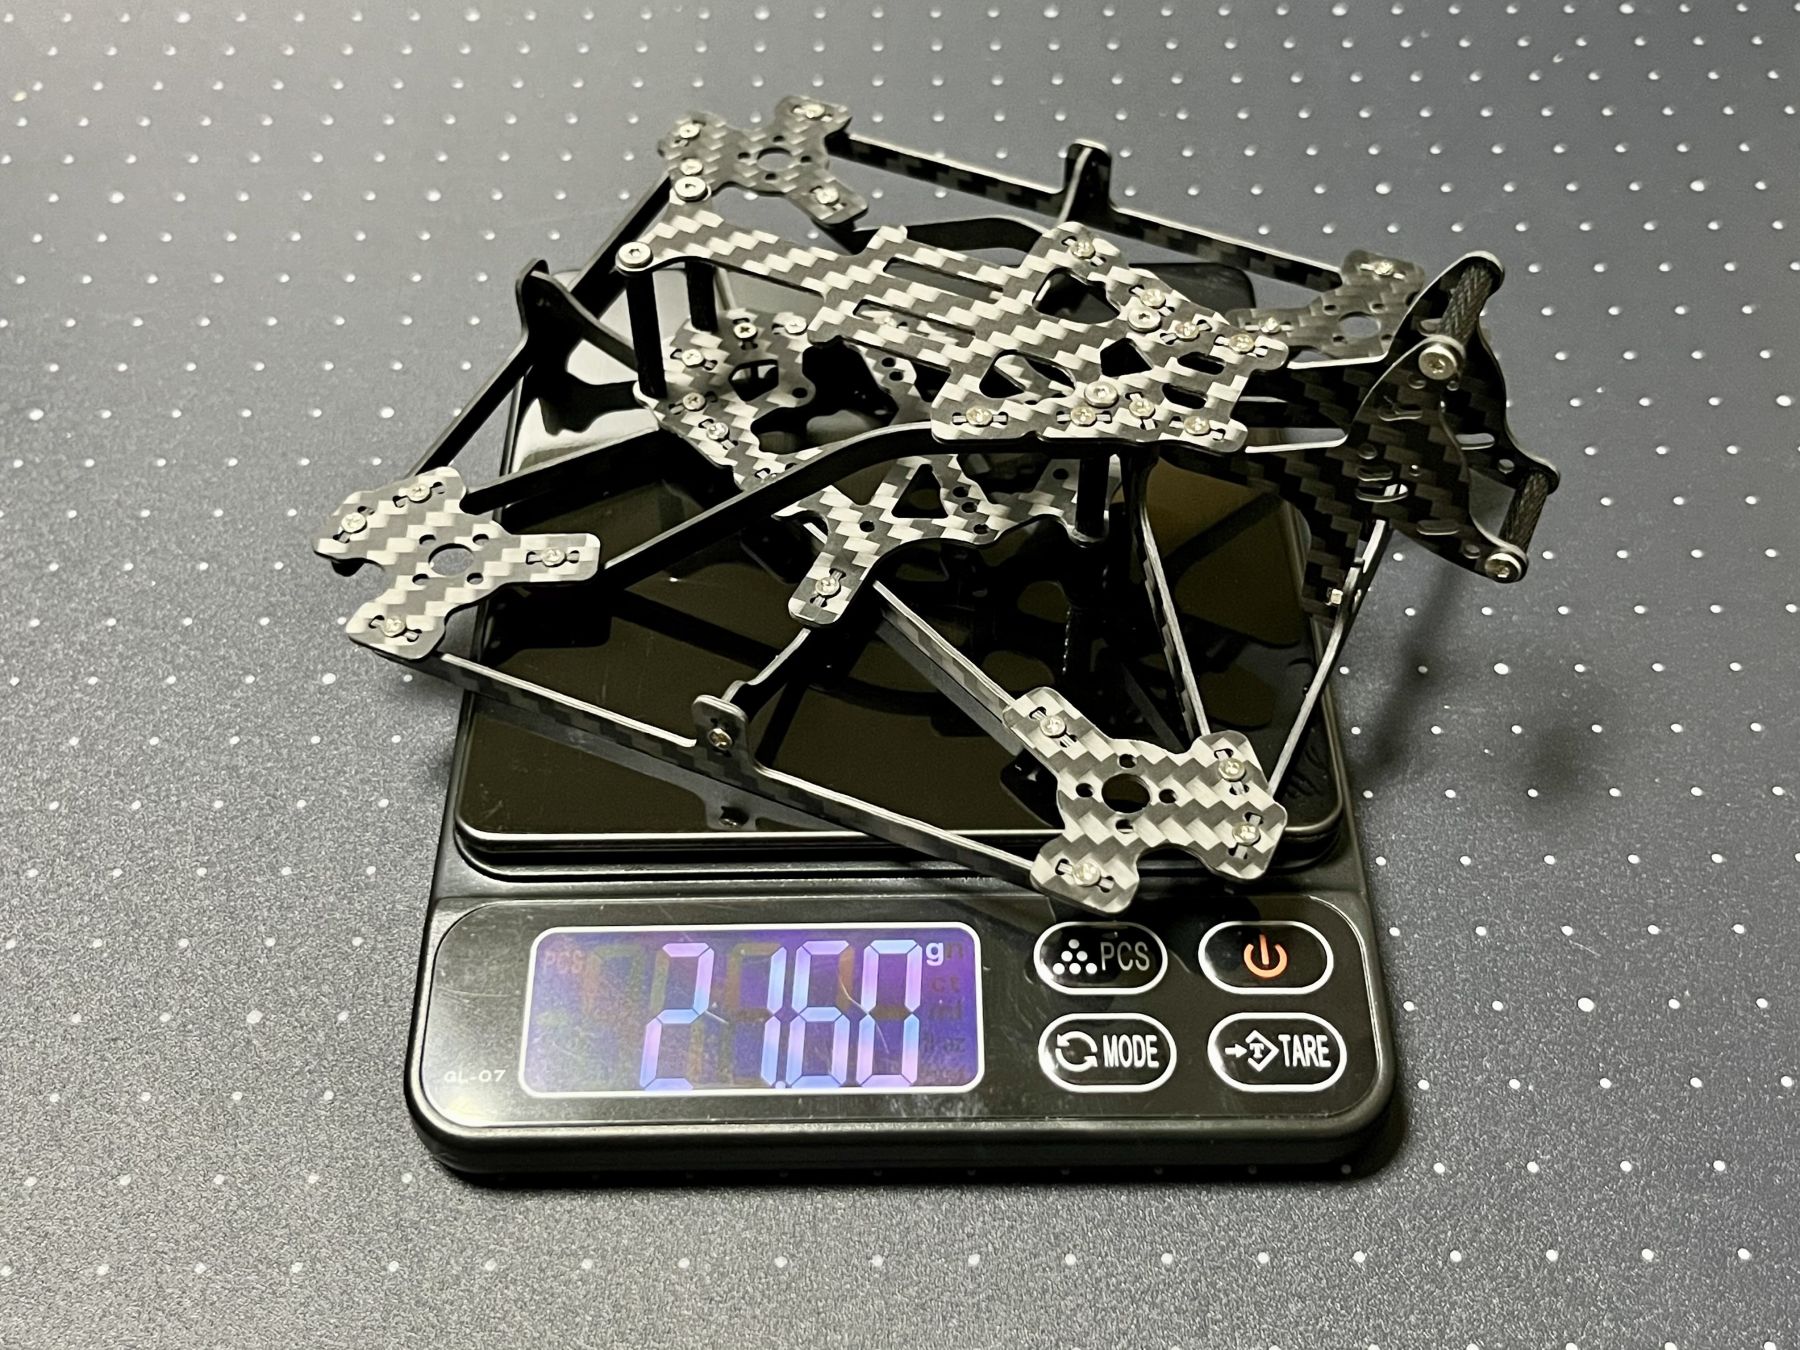
- Weight : Approx. 15g (Carbon only), 22g (w/ M1.4 and M2 hardware including four M2x20mm standoffs and two M2x14mm standoffs)
- AIO FC : DarwinFPV F435 45A AIO
- Motor : Amax 1504 6000KV (11.7g, high-power; very quiet even during indoor flight tests; suitable for 8-blade propellers)
- Props : HQProps T63mmx8 (my favorite)
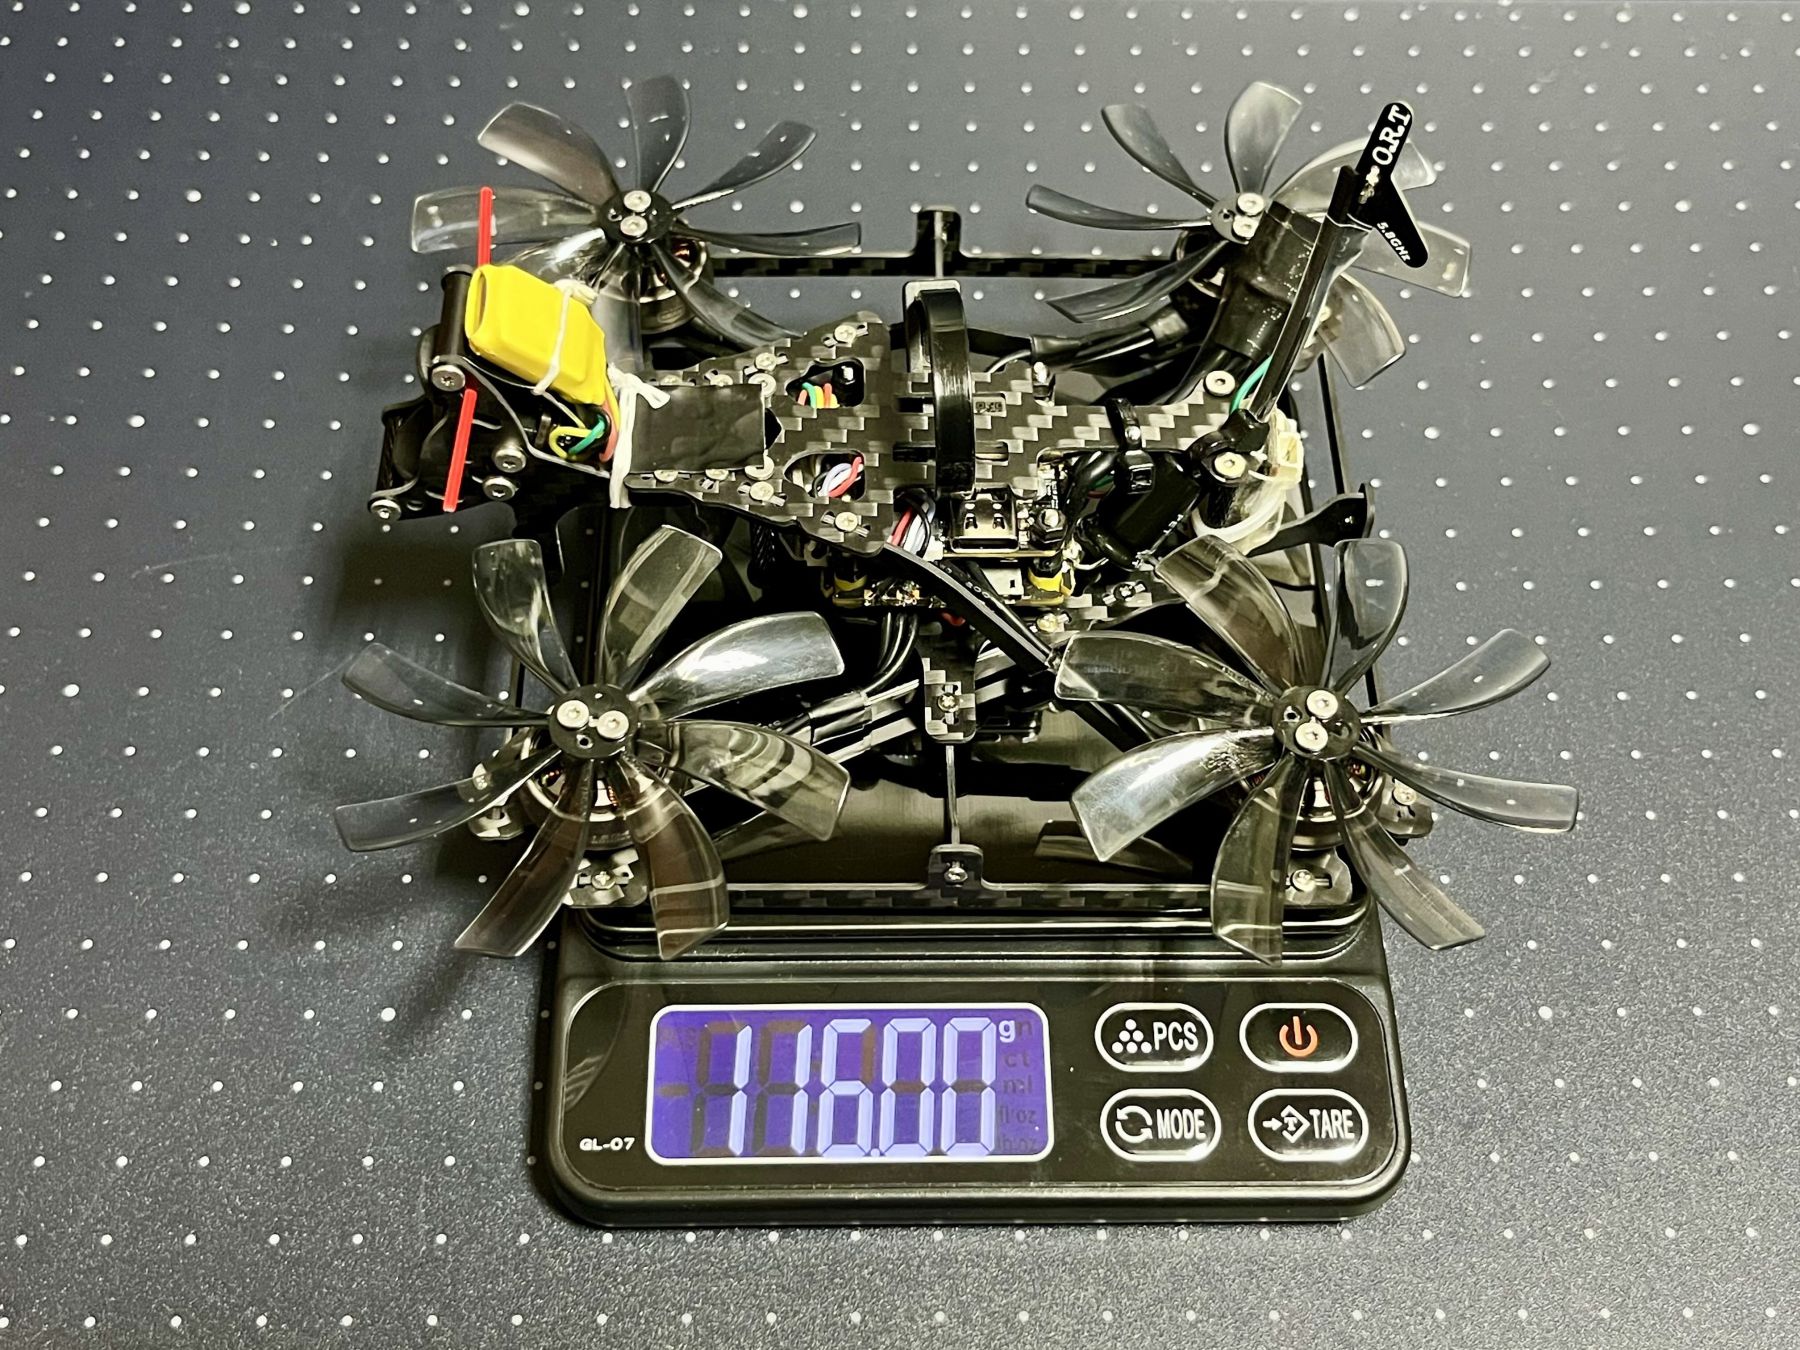
- Weight : Approx. 116g
For this build, I tried M1.4x3mm screws having 3mm-diameter head instead of the standard ones with 2.5mm-diameter head. The additional weight is 0.002g per screw and 0.08g for total. However, it seems to much better for strength and resistance to loosening.
PID Tuning, Blackbox Logs, and Flight PerformanceAs usual, I ran the PIDtoolbox Basement tuning in angle mode before flying it outdoors.
On the test flight using a DogCom 3S 560mAh 150C battery, I performed 0-100% slow throttle punches, some quick flips and rolls, and obtained a blackbox log file. The frequency vs. throttle charts for the unfiltered gyro data regarding Roll and Yaw are excellent. Regarding the unfiltered gyro pitch data, resonance is visible between 200 and 250Hz, but it is not particularly strong, and like the roll and yaw data, it remains very clean below 150Hz. Therefore, I believe these results are sufficient for enjoying HD FPV during casual flights.
Thanks to its powerful motors and 8-blade propellers, the QT Flat 25 delivers highly satisfying flight performance. Even when using a 3S battery, it reaches a top speed of 130 km/h. With a 4S battery, the top speed exceeds 150km/h. When using a lightweight battery such as a 3S 560mAh one, the throttle setting while hovering is only about 14%. With a 4S 650mAh battery, this drops further to about 10%. For long-term use, maybe I should rebuild it using 1.5mm-thick carbon plates for 3-4S builds.
O4 camera modification housing
This modification was inspired by a post by glock on Aug 08, 2025. The post featured an excellent modification for the O4 camera that makes it compatible with the O3 camera lens. I would like to express sincere gratitude to the author.
You can download (and freely edit) my CAD files for various versions of the O4 camera modification housing from the link below. Since this is my first time using Autodesk Fusion, the f3d files may show some traces of my amateurish work. (The carbon fiber frame design is essentially 2D CAD, so its much easier to use FreeCAD draft workbench.)
For 3D printing, adjust the surface offset values of the screw threads according to your 3D printer. For example, the step and STL files in the above zip file use a surface offset value of -0.03 mm (lens screw thread only) for my local 3D printing service (Astra3D Lumia X1 / Henkel LOCTITE 3D 3843 BK).
-
Simple 14mm-wide housing for M11xP0.5 screw mount lens (such as the O3 lens and the Flywoo O4 wide-angle lens)
This version features a minimalist design tailored to my requirements for the O4 camera modification:- The O4 image sensor module is secured without the use of adhesive
- It features a thread compatible with the O3 lens, making focusing easy
- Compatible with standard frames featuring a 14mm-wide camera mount
- Even with the frames mentioned above, it is compatible with Flywoo's 18mm-wide Naked O3 ND filters
- It is also compatible with the O3 camera mount when using spacers or washers
.
All screw holes on the side and rear surfaces are M2. To secure the O4 image sensor module, simply use the screws on the back to gently press the sensor module down. Since the M2 screw holes are tight, use only one M2x6mm screw. If you are concerned about damaging the module, it is a good idea to apply metal tape to the back of the module. Since the housing width is limited to 14mm, it was unable to ensure sufficient depth for the M2 screw holes on the sides, so they are very shallow (especially the center hole). However, this should not be a problem if used with care.As for M11xP0.5 thread hole, it may be difficult to adjust it so that it is neither too tight nor too loose, making it easier to focus. If it is too tight, the thread needs to be tapped. If it is too loose, you will need to secure the lens using removable adhesive, just as done for standard retailed products. (By adding another through-hole for an M2 screw to the top or bottom of the housing, it is also possible to secure the lens using a set screw.)
DJI_O4_Lens_Mount_M11x05_W14S.f3d (all screw thread surface offset 0)
DJI_O4_Lens_Mount_M11x05_W14S_003.step (M11 offset -0.03mm; M2 offset 0)
DJI_O4_Lens_Mount_M11x05_W14S_003.stl (M11 offset -0.03mm; M2 offset 0) -
14mm-wide housing for M11xP0.5 screw mount lens with hood (lens protector)
As you can see in the title photo, Im using this version to build my QT Flat 25.If the camera lens is not adequately protected by the frames design, a lens hood attached to the camera housing can help protect the lens from minor impacts. With wide-angle lenses like the O3 lens, the hoods length is kept to a minimum to prevent it from entering the field of view. As a result, it is of little use as a light-blocking device to prevent lens flare.
This lens hood was not designed for use with the O4 Pro camera filter. However, it can be attached if the hood is modified appropriately. (Untested sample f3d file)
DJI_O4_Lens_Mount_M11x05_W14SwH.f3d
DJI_O4_Lens_Mount_M11x05_W14SwH_003.step
DJI_O4_Lens_Mount_M11x05_W14SwH_003.stl -
Simple 20mm-wide housing for M11xP0.5 screw mount lens
This version features a minimalist design tailored to meet the first two requirements mentioned above, as well as compatibility with standard O3 camera mounts. All M2 threaded holes on the sides are 3mm deep.DJI_O4_Lens_Mount_M11x05_W20S.f3d
DJI_O4_Lens_Mount_M11x05_W20S_003.step
DJI_O4_Lens_Mount_M11x05_W20S_003stl -
20mm-wide housing for M11xP0.5 screw mount lens with hood (lens protector)
.
DJI_O4_Lens_Mount_M11x05_W20SwH.f3d
DJI_O4_Lens_Mount_M11x05_W20SwH_003.step
DJI_O4_Lens_Mount_M11x05_W20SwH_003.stl -
Simple 20mm-wide housing for M12xP0.5 screw mount lens
This is a test setup using various commercially available M12 mount lenses. Im interested in a specific lens that, while not particularly wide-angle, is at least wider than the original O4 lens and exhibits minimal distortion. The original O4 lens has FOV of 117.6 degrees, and it exhibits only minimal distortion through the goggles. (In standard goggles, the display lens itself stretches the image at corners, so the barrel distortion of the camera lens is optically corrected some extent. Therefore, if the camera lens has actually very low distortion, the image displayed on the goggles may appear as if the camera lens has pincushion distortion.) In fact, since I rarely fly in proximity style, I haven't experienced any major disappointments regarding the real-time FPV experience with the original O4 lens. However, as someone who used to enjoy wildlife photography as a hobby I am strongly drawn to interchangeable-lens FPV cameras.Since most M12-mount lenses have a longer flange back (the distance from the rear end of the lens to the focal plane) and a longer TTL (Total Track Length, the distance from the front of the lens to the focal plane), the O4 Pro camera mount position is more suitable than the O3 camera mount position. Therefore, two M2 threaded holes have beed added on both sides to accommodate the standard O4 Pro camera mount. Regarding the M12 thread, even if is too loose, M12 lenses can usually be securely fastened by using a thin M12xP0.5 nut ring.
DJI_O4_Lens_Mount_M12x05_W20S.f3d
DJI_O4_Lens_Mount_M12x05_W20S_003.step
DJI_O4_Lens_Mount_M12x05_W20S_003.stl
.
Source: RotorBuilds.comGalerija